Aligning Points | |||||
|
| ||||
-
From the Sketch section of the action bar, click Align Points
 .
.
-
Select all the required points using trap selection.
Tip: You can also right-click the points and choose Selected objects > Horizontal or Selected objects > Vertical to align the points horizontally or vertically in an instant. By default, Along a Direction
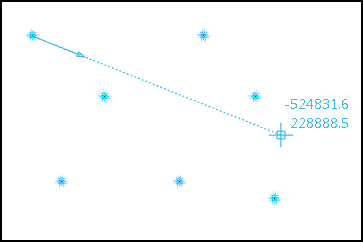
 is selected in the Tools Palette. Using this
option, you can align the points in the direction of the selected end point.A small arrow indicating the direction of alignment appears at the origin point. The direction of the arrow changes with respect to your pointer position.
- Optional: Click Change Origin Point
 and select a point.
Previously selected points are now unselected.
-
Do one of the following actions to align the points:
-
Click Horizontal Alignment
 and place the pointer anywhere in the 3D area.
The points are aligned horizontally.
-
Click
Vertical Alignment
 and place the pointer anywhere in the 3D area.
The points are aligned vertically.
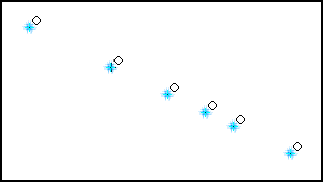
- Select an existing point or click anywhere in the to define the end point.
The points are aligned along the direction of the selected end point.

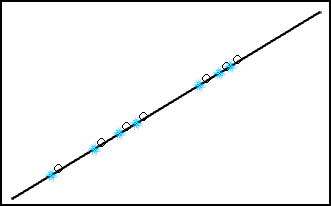
- Click Align along selected linear element
 and select the line.
 The points are aligned along the direction of the selected line.

You can select any existing line or a construction line when using this option. However, you cannot select a curve.
Important: If you select the  in the Sketch section of the action bar, the coincidence constraints that are used to align the set of points are created. Also, the reference line used for alignment is created as a geometrical element. Conversely, if you do not select the
  , the points are only aligned, and no constraints are created. These points can be moved freely after they are aligned.
 -
Click Horizontal Alignment