Smart Move | ||
| ||
-
From the
Assembly section of the
action bar, click Smart Move
 .
The Smart Move dialog box appears.
 - Click More>> on the Smart Move
dialog box.The Quick Constraint section contains the list of constraints that can be created.
Constraints are displayed in a hierarchical creation order and can be reordered by using both arrows to the right of the dialog box.
- Select Automatic constraint creation.The first possible constraint as specified in the list of constraints as having priority.
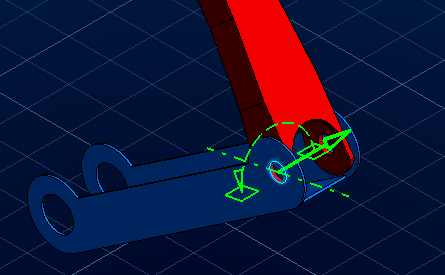
- Select an axis of the red component as shown.

Important: In a flexible assembly, the first selected component must be repositionable.
- Select an axis of the blue component.

Instead of explicitly selecting both axes, you can select the axis of the red component and then drop it onto the blue inner cylinder face when your cursor points to this face.
Possible constraint between the axes is detected.
As the Automatic constraint creation option is selected, a coincidence constraint is created between both axes.

- Click the green arrow to reverse the constraint orientation.

- Click OK in the Smart Move
dialog box.The engineering connection is created and contains a coincidence constraint.