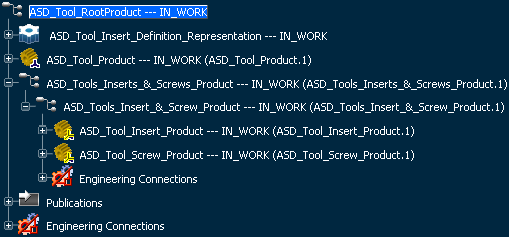
 -
Double-click
ASD_Tools_Inserts_&_Screws_Product in the tree to activate it.
Pattern components will be created under this product.
-
From the
Assembly section of the
action bar,
click
Assembly Pattern
 and select the component to instantiate. and select the component to instantiate.
The
Assembly
Pattern dialog box appears.
-
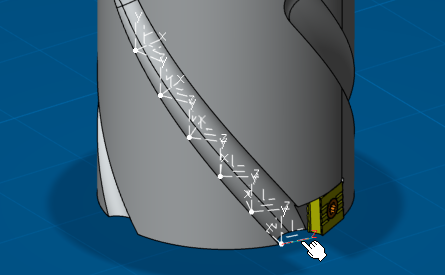
Select
ASD_Tools_Insert_&_Screw_Product product in the as component to pattern.
-
Select
an axis system from the insert definition representation.
-
Select Copy impact for all assembly features
in the dialog box. Be sure that Only clashing impacts is selected.
-
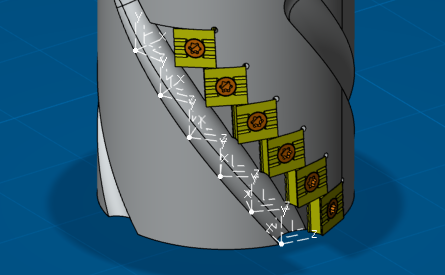
Click OK in the
Assembly Pattern dialog box.
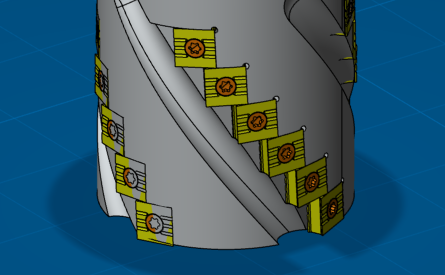
Pattern components are created.

-
Double-click
the root product in the tree to activate it.
- From the
standard area
of the
action bar,
click
Update
 . . Assembly features from patterned components are applied.
-
Click Assembly Pattern
 . .
-
Select
ASD_Tools_Inserts_&_Screws_Product product as component to instantiate.
-
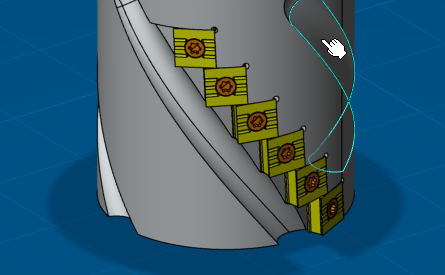
Select
an existing pattern instance of the helix.
-
Select Copy impact for all assembly features
in the dialog box.
-
Click OK in the
Assembly Pattern dialog box.
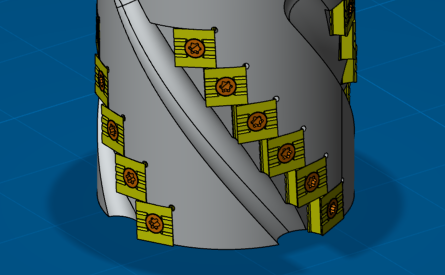
Pattern components are created.
- From the
standard area
of the
action bar,
click
Update
.
Assembly features from patterned components are applied.
|