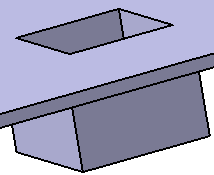
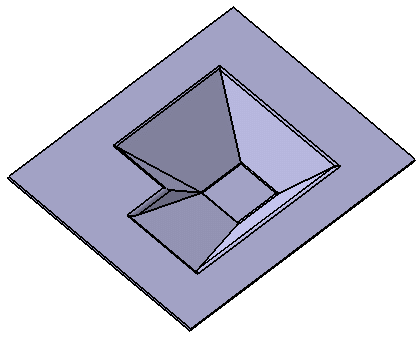
Creating Surface Stamps

You can create surface stamps by specifying the various geometrical parameters of the punch.

This task shows you how to:


Before you begin: Create a web and sketch a closed profile on its face.

Create Surface Stamps

You can create surface stamps.

  1. From the Refine section of the action bar, click Surface Stamp .
  2. Select a profile.

    If there is no existing profile, click Sketch to draw one.

    Tip: You can also click Open catalog to insert a profile from a catalog. For more information, see Browsing the Sheetmetal Catalog.
  3. Modify the parameters.
    The surface stamp is previewed.
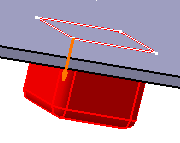
Create Surface Stamps without Fillets

You can create surface stamps without fillets.

  1. From the Refine section of the action bar, click Surface Stamp .
  2. Select a profile.

    If there is no existing profile, click Sketch to draw one.

    Tip: You can also click Open catalog to insert a profile from a catalog. For more information, see Browsing the Sheetmetal Catalog.
  3. Clear the Use fillet option.


Create Surface Stamps from a Sketch

You can create a surface stamp from a sketch that is not lying on the same plane than the part body.

Before you begin: Create a sketch on a different plane.
  1. From the Refine section of the action bar, click Surface Stamp .
    Note: The sketch represents the bottom of the stamp. The Upward sketch profile option in the Type box is unavailable.
  2. Modify the value in available boxes, if required.
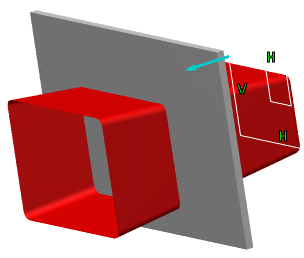
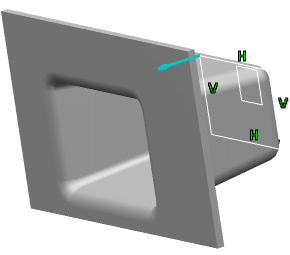
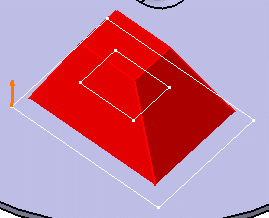
    The surface stamp looks as shown below:

    Important:
    • The angle and the height of the punch are calculated with respect to the plane of the sketch.
    • The stamp will be built only when the punch intersects the part body.
  3. Click Preview to compute the surface stamp.
    The stamp is relimited when it intersects the part body.

    The blue arrow indicates the direction of the stamp.

Create Surface Stamps with Opening Edges

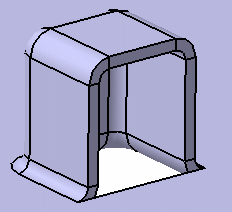
You can create a surface stamp with opening edges.

  1. Double-click the surface stamp in the tree to edit it.
  2. Click the Opening edges box to activate it.
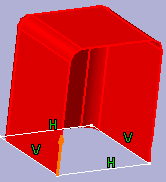
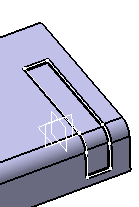
  3. On the geometry, select one opening edge as shown below.

    You can select several opening edges.


  4. To modify the opening edges, do one of the following:
    1. Right-click the Opening edges box and select Elements list.
    2. Click and then click Remove or Replace to change your selection.
  5. Click Preview to compute the surface stamp.


Create Stamps Based on a Multi Contour Profile

You can create stamps based on a multi contour profile by applying parameters either to the top or the bottom of the surface stamp.

Apply Parameters to the Top of the Surface Stamp

You can apply parameters to the top of the surface stamp.

  1. From the Refine section of the action bar, click Surface Stamp .
  2. In the tree, select the sketch corresponding to the profile you want to use.
  3. From the Definition list, select Angle.
  4. From the Profile position list, select Upward as the first stamp type.


  5. Click Preview to compute the surface stamp.


Apply Parameters to the Bottom of the Surface Stamp

You can apply parameters to the bottom of the surface stamp.

  1. From the Refine section of the action bar, click Surface Stamp .
  2. In the tree, select the sketch corresponding to the profile you want to use.
  3. From the Definition list, select Angle.
  4. From the Profile position list, select Downward as the second stamp type.


  5. Click Preview to compute the surface stamp.


Create Stamps Based on a Punch and Die Profile

You can create stamps based on a punch and die profile.

  1. From the Refine section of the action bar, click Surface Stamp .
  2. From the Definition list, select Punch & die.


  3. Click Preview to compute the surface stamp.


Important: Each punch edge must be parallel to the corresponding die edge.

Create Stamps Based on a 3D Curve

You can create stamps based on a 3D curve.

Before you begin: Create a curve.
  1. From the Refine section of the action bar, click Surface Stamp .
  2. Select the curve.
  3. From the Definition list, select Angle.
  4. From the Profile position list, select Upward as the first stamp type.
  5. Modify the value in available boxes, if required.
  6. Click Preview to compute the surface stamp.


Create Two-Profile Stamps

You can create two-profile stamps.

Before you begin: Create two sketches on the face of the wall or web. Create two sketches on the face of the web.
  1. From the Refine section of the action bar, click Surface Stamp .
  2. From the Definition list, select Two profiles.
  3. Clear the Rounded die check box.
  4. In the tree, select the sketches for the first and the second profile.
    OptionDescription
    Inner Defines the internal part of the stamp.
    Outer Defines the external part of the stamp.
  5. Click Preview to compute the stamp.
    A warning message appears.
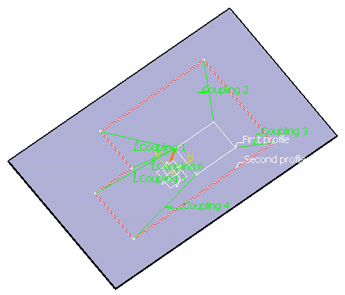
  6. Start coupling sketches together by selecting points.


    Once the coupling is done, the stamp can be computed and is previewed.


  7. Click OK to create the stamp.


    Warning: Avoid as much as possible a coincidence between the edge of the sketch profile and the edge of the base feature. Instead, let the sketch profile exceed the edge of the wall.