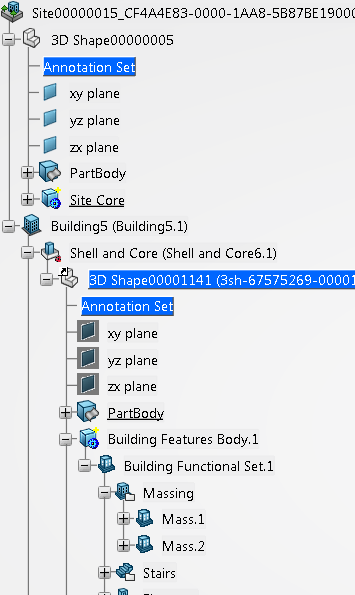
The Tree | ||
| ||
Located on the left by default, the tree displays the building and components as a tree structure. It includes listings of building features, such as curtain walls, stairs, stairwells, shafts, roofs, structural members, and footings. It also includes a story-by-story listing of all spaces currently in the building.

Use the tree to:
- Locate story-by-story spaces that you already placed in the building.
- View and hide stories, spaces, structural members, and other features in the building by clicking:

To make a viewable item hidden. 
To make a hidden item viewable. - Locate sketches. In the tree, sketches you create with Positioned Sketch
 are in Reference Elements. Sketches you create with Sketcher are in GeometrySets.
 - Access commands to add, change, and copy building elements.
For example, in the tree, you can click the primary slab of Story 1, and from the context toolbar, you can:
- Change the slab thickness for the story.
- Change the story height for the individual story.
Or, in the tree, you can click the listing for an individual space and from the context toolbar, you can:
- Change the space wall thickness.
- Edit space properties (name, department, and sub-department) for a space.
- Copy the space to a different story.
- Locate structural members.
- Initiate the editing of multiple structural members or individual members. For example, you can edit all the catalog columns or you could edit a single catalog column.
- Initiate the editing of a sketch that serves as profile for an building element or the mass.
- Drag and drop features from one functional set to another.
For example, in the tree, you can drag spaces from one slab to another.