Post Installation Tasks

This task explains how to perform post installation steps before running war util.

Notes:
  • If you are using Internet Explorer, Click Tools > Compatibility View Settings. Clear Display intranet sites in Compatibility view check box.
  • Client machine must have Oracle Certified JRE 8 update 172 or higher version installed.

This task shows you how to:

Upgrade AutoVue 2D Viewer

  1. If you have upgraded from a version prior to V6R2012x and kept the old STAGING folder, perform the following

    Delete the vuelink.jar from <serverInstallLoc>\STAGING\ematrix\classes.

    This needs to be done before generating the war util.

  2. If you have upgraded from a version prior to 3DEXPERIENCE R2015X, then perform the following steps:

    Important: If X-CAD Design Management and the Connector apps are installed then you must run the X-CAD Design Management data migration script before running the below migration script.

    1. Launch MQL from the Live Collaboration Server folder.
    2. Run the migration script with the following mql command:

      MQL> set context user <username> password <password> vault <vault>;

      Ensure that proper context (with System Admin and Business Admin rights) is set in MQL command prompt.

      MQL> compile program C3DMigration,C3DMigrationBase;

      MQL> exec program C3DMigration -method main;

      The log files are generated at the following location:

      <User's Home Directory>\C3D_Migration\MigrationLogTimeStamp.log

    Only if there is an error when running the migration script and if the upgrade fails then execute the C3DMigration jpo again after resolving the problem.
Configure emxSystem Properties File

You need to configure the properties file to view the files correctly in AutoVue. This configuration has to be done to view markup files using the TV icon in the actions column of the Markup page or to view files using the TV icon in actions column of the Workspace page. You need to be perform this configuration before generating the war util.

  1. Go to <serverInstallLoc>\STAGING\ematrix\properties.
  2. Edit emxSystem.properties and set value of string emxFramework.Viewer.ServletPreFix as <deployed application name>/servlet.

Configure ESAPI Properties File

You need to configure the properties file to start the application server without any warning. This configuration needs to be done after generating the war util.

  1. Open the ESAPI.properties file located at ...\WEB-INF\classes.
  2. Set IntrusionDetector.Disable=true.
  3. Set HttpUtilities.ApprovedUploadExtensions=.zip,.pdf,.doc,.docx,.ppt,.pptx,.tar,.gz,.tgz,.rar,.war,.jar,.ear,.xls,.rtf,.properties,.java,.class,.txt,.xml,.jsp,.jsf,.exe,.dll,.ini,.mrk,.bmp,.isdkavm,dwg,.dgn,.iam,.ipt,.CATProduct,.CATPart
  4. Add Encoder.AllowMixedEncoding=false

Copying .JAR files

Copy following .jar files from AutoVue server installation directory ("\..\AutoVue\bin") to ENOVIA RMI/Server Directory ("..\Server\STAGING\enovia\WEB-INF\lib") or directly to (../apache-tomcat/webapps/<application name>/Web-INF/lib): log4j-api.jar, log4j-core.jar, log4j-web.jar.

Register AutoVue 2D Viewer

In order to start using AutoVue 2D Viewer, you have to register a format with AutoVue server to open a specific file from AutoVue client.

  1. Log on to the application.

    Tip: To login for the purpose of modifying the format registration, you have to be assigned Administration Manager Role, you should be authorized for Business Administration and the administration access for "Property" should be selected through Edit Person > Privileges > Administration Access from the Business module.

  2. Go to menu My ENVOIA > Utilities > AutoVue Formats Registration.
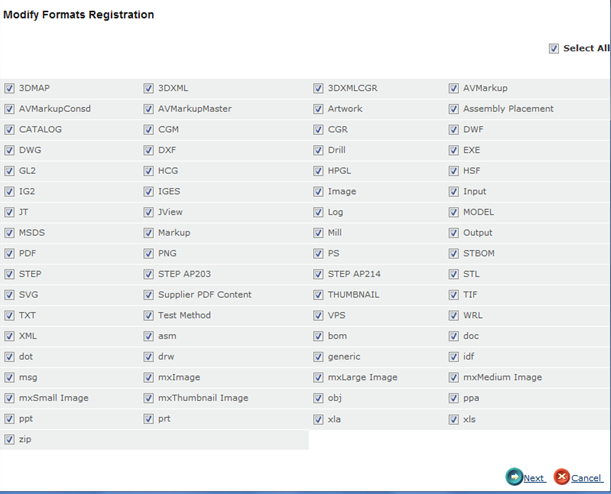
  3. Select the formats for which you want to associate AutoVue as the viewer.


    Important: User will be able to view files only for those formats in Oracle AutoVue, which are registered using the above method.

    Tip: You can view the list of formats available for registration in the Oracle AutoVue Supported File Formats documentation. The documentation is located in the <Oracle AutoVue Server Install>\docs folder.

  4. Click Next.
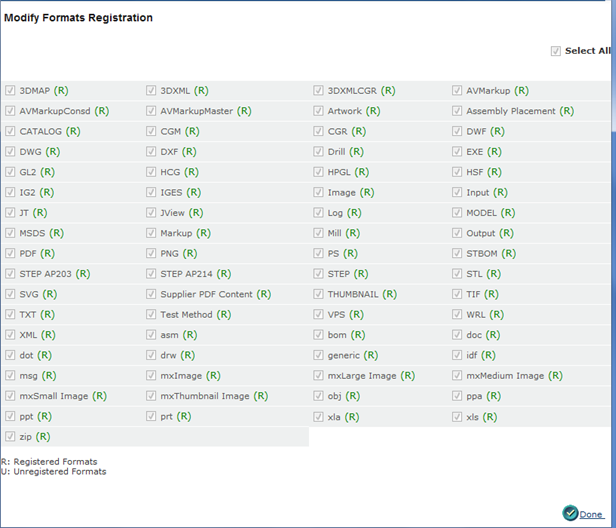
    The registered and unregistered formats are displayed.

  5. Click Done.

A icon is displayed for the register formats that can be viewed by the users.