-
Select the profile to extrude .
-
From the Design Lattice
Area section of the action bar, click Pocket
 .
.
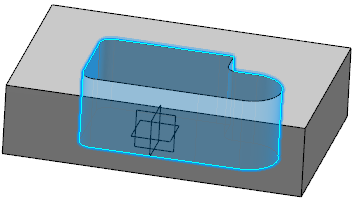
The Pocket.x dialog box appears and the app previews a pocket.
-
To define a specific depth, set the Type parameter to
Dimension, and enter the required length value.
-
Click
OK to create the pocket.
The tree indicates this creation.

-
Double-click
Pocket.1 to edit it. As the
app
lets you choose the portion of material to be kept, you can remove all the
material surrounding the initial profile.
-
Click
 or
alternatively, click the arrow as shown.
 option lets
you choose between removing the material defined within the profile, which is
the default behavior of the app, or the material surrounding the profile.
The arrow indicates the opposite direction.
-
Optional: Click
 to create the
pocket outside the profile.
The
app
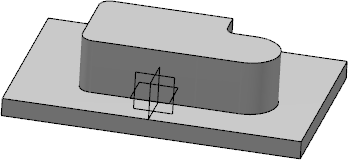
has removed the material around the profile.

