Creating Contours | |||
| |||
-
From the Shape section of the
action bar, click Contour
 .
.
-
In the Surface box, select the surface.

-
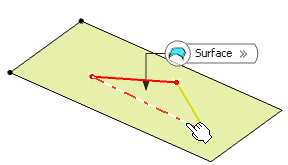
Select curves to form a closed boundary.

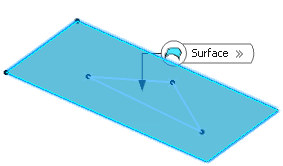
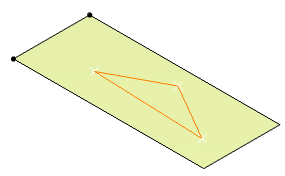
The first selected curve is highlighted in yellow color whereas the last selected curve is highlighted with red color. Once the closed contour is formed, the resultant contour is highlighted in blue color.Important: - The curves should lie on the base surface.
- The curves must be continuous in point.
- You can reorder selected points using the following options:
- Click
 to add a
line at the end of the list in the table.
 - Click
 to
insert a line before the current line in the table.
 - Click
 to insert
a line after the current line in the table.
 - Click
 to remove
all the lines.
- Click
- Click Preview.
-
In the Extrapolated distance box, type the value or use the
arrows to change the value to define a distance by which the curves will be
extrapolated.
By default, the extrapolated distance is 0.003mm.
Important: - The selected curves can have non-coincident end points. Therefore, an extrapolation is performed to allow creation of the closed contour.
- The selected curves can intersect. Therefore, a relimitation of the intersecting curves is performed to allow the creation of the closed contour.
-
Click OK to create the contour.
The element (identified as Contour.xxx) is added to the tree.
