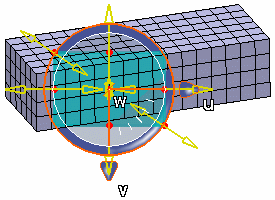
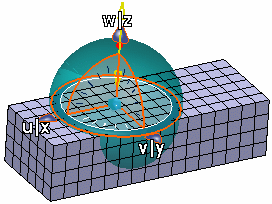
You can draw a bounding box and create a group containing the nodes, element edges, element faces, or elements that are inside the bounding box.
- Do either of the following:
- To create a mesh group in the
Groups container, select
 from the action bar.
 - To create a mesh group under a mesh, right-click the mesh in the tree
and select .
The Spatial Group dialog box appears.
- Optional: Enter a Name for the group.
- From the Mode list, select Box.
- Select the Type of mesh entity that will be in the group:
- Select Node to create a group of nodes.
- Select Edge to create a group of element
edges.
- Select Face to create a group of element
faces.
- Select Element to create a group of
elements.
- Position and size the bounding box.
- Click the 3D shape at the first corner of
the bounding box.
- Click at the opposite corner of the bounding box.
The bounding box is displayed, and the
Robot is positioned automatically at the selected
location.

- Use the sliders or the
Robot to resize and move the bounding box.
-
To make the group eligible for use with simulation connections, do not
select Include connection elements. This works for
both groups in the Groups container and groups under
a mesh.
- Click one of the following:
- OK to save your selections and to close the dialog box. To generate and visualize the group, you must update it.
- Update to save your selections, close the dialog box, and update the group.
- Cancel to cancel the modifications and to close the dialog box.
If you click OK or Update, the group is created and appears in the tree.
Note:
When you use mesh groups as supports, the symbol positioning is intended only to indicate
support for the feature. The feature symbols might not cover the mesh region as
they do for a similar geometry region.

