-
From the Transformation section of the action bar,
click Fold Transformation
 . .
- Optional:
Replace the default name Fold Transformation.n with a more
significant one.
-
Select the elements to fold.
-
Define the folding geometry: Either select or create a sketch, or add and edit a
symmetry or a geometry.
The geometry is made of straight lines, intersecting or not.
For more information on working with the Sketcher, see 3D Modeling Core: Sketcher. Note:
Click Parameters in the tree to create parameters from the context toolbar.
-
Select the target layer near which the fold is created.
-
Define the position of the fold.
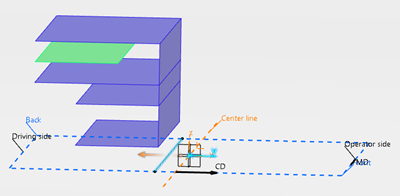
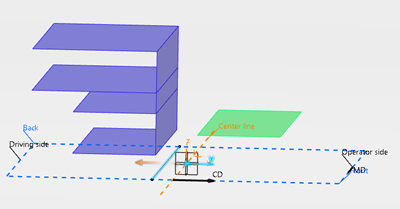
- Above: The selected layers are folded above the top
layer.
- Below: The selected layers are folded below the bottom
layer.
-
Enter the folding allowance that is the thickness of the layer used to create the
fold.
-
Optional: Select the Fold Intersected Domains only
check box.
-
Click Preview to verify the result.
-
Use the arrows to select the side to fold.
-
Validate.
- A Fold Transformation.n feature is created under
Transformation Tools.
- A Fold Transformation.n feature representing the folded part of
the layer is created in the layers group.
Notes:
- Any folded part found in the layer is removed and replaced by this Fold
Transformation.n feature.
- All Fold Transformation.n features are linked to the
Fold Transformation.n feature. They cannot be deleted
individually. You must delete the Fold Transformation.n.
|


