Manipulating Objects Using the Mouse and Robot | |||
| |||
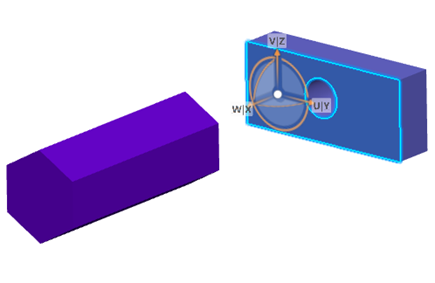
- Point to the Robot's manipulation handle (the sphere
located on the privileged plane at the base of the Robot).The sphere is highlighted in blue.
- Drag the Robot.The square base represents the current privileged plane. The privileged plane is realigned with one of the planes on the object and is snapped to the object.
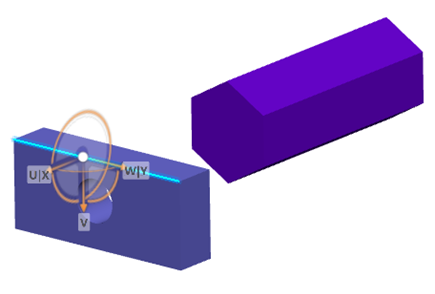
- Release the mouse button to drop the Robot onto the
object.The object is selected and the Robot changes color: it takes the manipulation color (you can set this color using the Handles list).
An extra letter is added to the axes to indicate that the axes in question are no longer oriented the same way as the absolute reference axis in the lower-right corner of the screen:

You can now begin to manipulate the object.
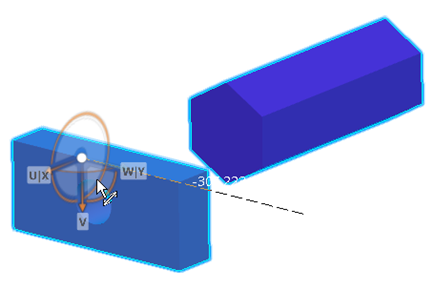
- Drag the X axis of the Robot to
move the part to the other side of the block.

While dragging, the Robot and a representation of the part are moved. The distance from the origin of the axis (the blue cube or manipulation handle located on the base) is displayed in real time as you move the object. The value displayed is preceded by the "-" sign (negative) if you move the object in the direction opposite to the Robot orientation.
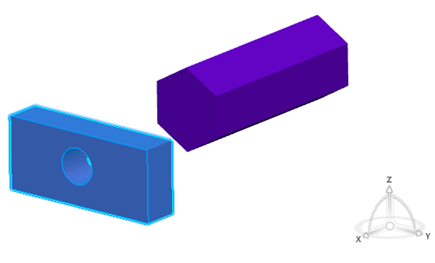
Important: The translation increments are preset: you cannot reset the translation increments displayed. - Drop the Robot to reposition the part.The pad is now positioned approximately like this:

- Drag the Robot away from the selected object.
- Drag the Robot onto the pad and align it with one of the
pad edges like this:

You can then select the object and drag the Robot to move the object in the same direction as the edge of the pad. This is the ideal solution for manipulating several objects at a time. To do so, select the first object, then press Ctrl and click other objects to add them to your selection.

Important: Aligning the Robot on objects that the Robot cannot manipulate is useful to detect a direction on the object for manipulating non-constrained objects.
