Locking the Robot

You can lock the current Robot orientation or orient it according to the current local axis system.

This task shows you how to:

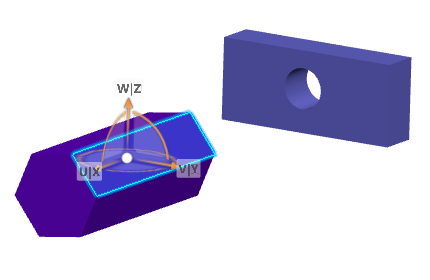
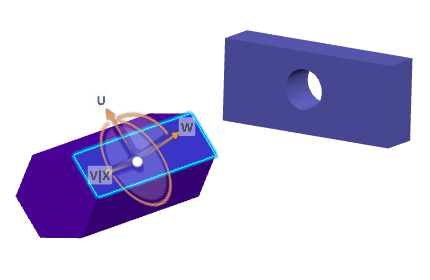
Lock the Current Robot Orientation

You can lock the current Robot orientation so that it cannot change, whatever actions you do with it.

  1. Point to the Robot and right-click to display the context menu.
  2. Select Lock Current Orientation.
  3. Drag the Robot onto the object.
    When you drop the Robot onto the object, this orientation is kept.


    Important: When you select Lock current orientation mode, you cannot change the Robot orientation (either manually or automatically), whatever the actions that are done with the Robot. In particular, the Robot orientation is kept even if you select Use Local Axis System.
  4. Right-click, and then clear Lock Current Orientation.
    The Robot is reoriented.


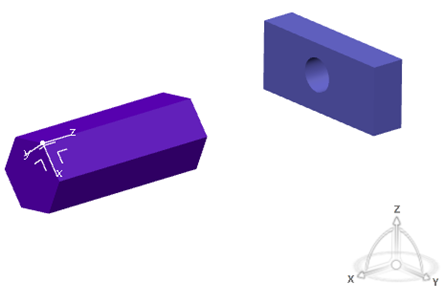
Lock the Robot to the Local Axis System

You can orient the Robot according to the current local axis system. This capability is relevant in any app defining local axis systems.

  1. Open any document with geometry.
  2. Create a new local axis system then set it as current:


    To learn how to define a new three-axis system locally and how to set is as current, see Part Design User's Guide.

  3. Point to the Robot and right-click to select Use Local Axis System.

The Robot is oriented according to the local axis system defined as current:
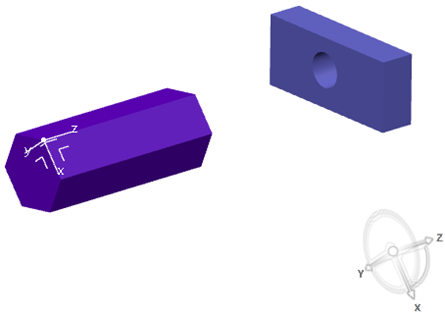


Important: If you have not defined any axis system, the Robot is oriented according to the global axis system displayed in the lower-right corner of the screen.