- Open any product with a planar patch.
-
From the Compass, click FreeStyle Shape Design.
- Select the planar patch.
- From the Edition section, click Control Points
 . .
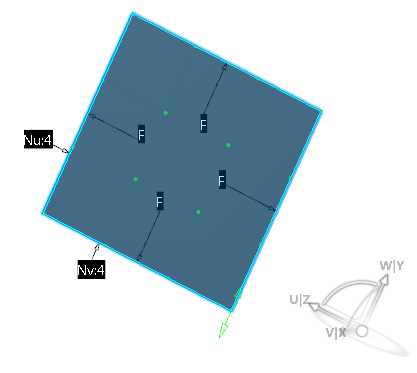
Control points appear on the patch.
- Point to a control point on the patch.
Handles appear:
 Handles, by default, are
oriented in the same plane as the privileged plane of the Robot, in the XY plane.
- In the Control Points dialog box, click Cancel to close the
dialog box.
- Click anywhere in the 3D area and drag the Robot onto the patch to align it in the following direction:
- Drop the Robot onto the patch as follows then click Control Points
 once again:
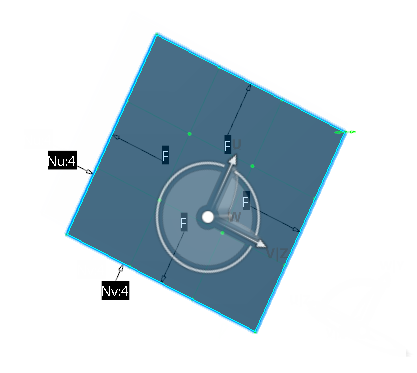
The Robot has now detected the orientation of the patch:

- Drag the Robot away from the patch and drop it into
empty space (in other words, not on another object).
The Robot keeps the same orientation:

-
Point to
the Robot and right-click to select
Make UV the Privileged Plane, for instance.
This means that you now want to orient the
handles in the UV plane of the Robot. Therefore, the handles are
now located in the UV plane:

|