Capture a Screen Area
The Screen Area mode lets you define the recorded area by drawing a rectangular area anywhere on the screen.
-
In 3DS Video Record, click
Screen Area
 . .
- Click Record or pause
 to start recording. to start recording. -
Left-click + drag to draw a rectangle.
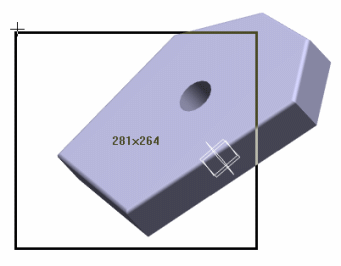
As you drag, you draw a rectangle like this, and the size of the
rectangle is displayed:  -
Release the mouse to close the rectangle and define the part of the screen
you want to record.
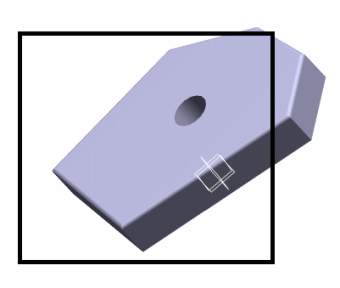
When you release the mouse, the selected area is highlighted like
this:  The recorded area is the drawn rectangle. Every tab, dialog box, or viewer, in this
area is going to be recorded. - When finished recording, click Stop
 . . -
In the dialog box that opens, enter the name of the .avi file, and then
choose the storage directory.
- Click Save.
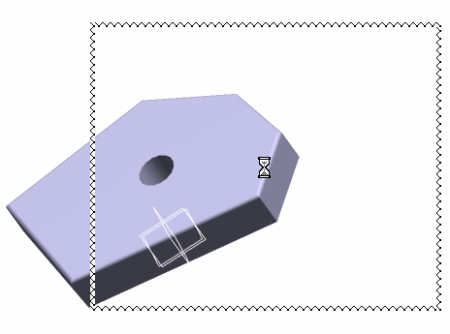
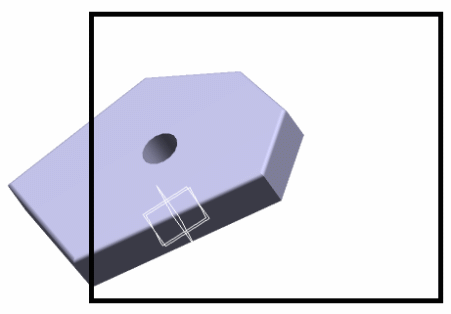
The player dedicated to the selected compressor opens to replay the video. For
example, if you select Full Frames
(Uncompressed), the Windows Media
Player opens, and only the selected part of the screen
is displayed in the video.
Capture the Full Screen
The Full Screen mode lets you record the whole screen.
- In the 3DS Video Record, select Full Screen
 . . - Click Record or pause
 to start recording. to start recording. - When finished recording, click Stop
 . . - In the dialog box that opens, enter the name of the .avi file and choose the storage directory.
- Click Save.
The player dedicated to the selected compressor opens to replay the video. For
instance, if Full Frames (Uncompressed) has been
selected, the Windows Media Player opens, and the
whole screen is displayed in the video.
Capture a Widget
The Widget mode lets you define the recorded area by selecting a widget in a tab or on the desktop.
Note that in dual display, this functionality is available only on the main screen.
-
In the 3DS Video Record, click
Widget
 . .
- Click Record or pause
 to start recording. to start recording. -
Move your mouse over the screen to select the widget you want to record (a
widget is identified by a thick black outline) then click in the widget area
when ready.
If you already selected a widget for a previous record, you can skip the
selection to keep the same widget by pressing
Esc.
- When finished recording, click Stop
 . . - In the dialog box that opens, enter the name of the .avi file and choose the storage directory.
- Click Save.
The player dedicated to the selected compressor opens to replay the video. For
instance, if Full Frames (Uncompressed) has been
selected, the Windows Media Player opens, and the
whole screen is displayed in the video.
Capture a Fixed Area
The Fixed Area mode lets you define the width and height of the
recorded area by drawing a rectangular area on the screen then positioning this area
as required.
Note that in dual display, this functionality is available only on the main screen.
-
In the 3DS Video Record, click Fixed
Area
 . .
-
Choose the size of the area you want to record by selecting the appropriate
option.
Predefined video and screen standards are provided in the
Video and Screen pulldown
lists (these predefined resolutions cannot be modified). You can also enter
the dimensions of your choice by selecting Custom.
- Click Record or pause
 to start recording. to start recording. -
Position the outline that appears over the area you want to record.
- Click with the left mouse button to confirm the position.
- When finished recording, click Stop
 . . - In the dialog box that opens, enter the name of the .avi file and choose the storage directory.
- Click Save.
The player dedicated to the selected compressor opens to replay the video. For
instance, if Full Frames (Uncompressed) has been
selected, the Windows Media Player opens, and the
whole screen is displayed in the video.
|
 .
.
 to start recording.

 .
.
