Snap Immersive Panels
You can position an immersive panel anywhere in the work area, or attach it to other immersive panels.
-
To move the panel, drag the title bar and position the panel in the work area.
Note that you can drag the panel outside its tab.
-
To attach an immersive panel another immersive panel, position your pointer over an
edge of another immersive panel.
The moved panel becomes transparent and a visual feedback is displayed on the
target snapping area to let you know where the panel is to be snapped.
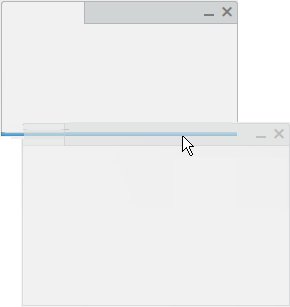
If you release the mouse button while the visual feedback is displayed, the moved
panel is attached to the target dialog box. This means that they are dependent from
each other for future interactions (move, resize, and so on).
A panel can be attached to another panel
at the following snapping areas: top, bottom, left, or right side. When attaching a
panel on top or bottom of another panel, the width of the moved dialog box is the same
as the width of the receiving panel.
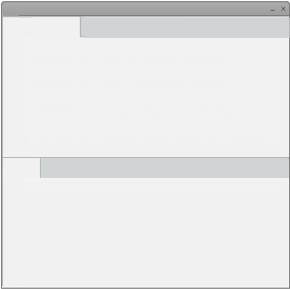
When a panel is attached to another panel, a group is automatically created and a
title bar is added on top of the group. A group can contain as many panels as required
and can also be resized. -
To attach a group to another group, drag its title bar and move it close to another
group.
The two groups are then merged into a single group. Note:
When attaching a
group on top or bottom of another panel, the group must contain only one column of
panels, otherwise the attachment is forbidden.
-
To detach a panel from a group, drag the title bar of the panel and move it away from
the group.
Dock Immersive Panels
You can dock immersive panels or groups of immersive panels to the four docking areas available in each tab.
-
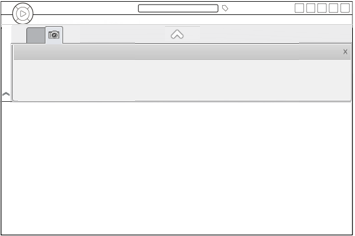
To dock a panel or a group, drag it with the pointer close to an edge of the tab.
The moved item becomes transparent and on hover over a valid drop (a space the
panel can dock into called the "docking area"). A visual feedback is displayed to let
you know that you can drop the panel there. 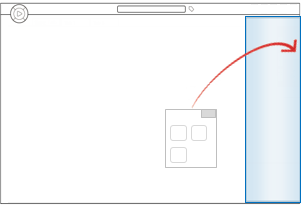 Note:
The visibility status of the tree and of the other docked panels has an impact on the
visual arrangement of the docking areas.
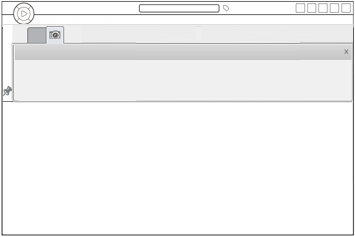
If you release the mouse button
while the visual feedback is displayed, the moved item is attached to the target area.
Focus is automatically on the newly docked item (its tab is visually “on” and its
content is visible). If another panel is already docked on the same area, the
docked panels are organized into tab pages. Clicking a tab changes the tab in focus
and the docking area slides out to reveal the content. -
To hide or display a docking area, click the appropriate arrow.
| Arrow |
Description |
 or or
 |
Hide or display the top docking area |
 or or
 |
Hide or display the left docking area |
| or
|
Hide or display the right docking area |
|
or |
Hide or display the bottom docking area |
-
To undock a panel, drag its title bar and move it away.
If the undocked panel is the only one in the docking area, then the docking bar
disappears because it is not relevant anymore. Otherwise, the last selected docked panel
is made visible in the docking area. Note:
When a panel is interactively undocked, you
can keep it as a stand-alone floating panel, or you can dock it to another valid
docking area.
Collapse Immersive Panels
You can collapse immersive panels, whether docked or not.
-
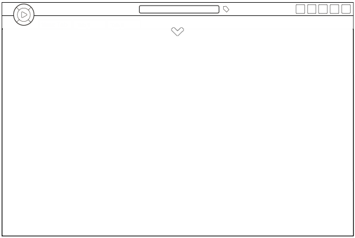
Double-click the title bar of the panel you want to collapse.
In the example below, the bottom panel is collapsed: 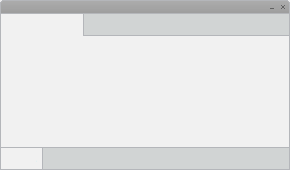
-
Inversely, to expand a collapsed panel, double-click its title bar again.
Pin or Unpin Docking Areas
You can make the contents of the docking areas always visible or not. By default, docking
areas are unpinned if they are empty. Whenever an immersive panel is docked into a docking
area, the area is pinned.
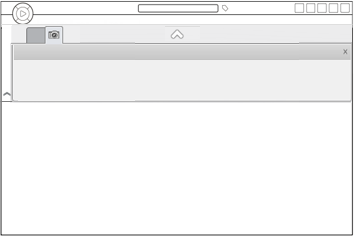
- Click the Unpin arrow in the docking bar to take advantage of the auto-hide capability.
When the docking area is unpinned, its contents are collapsed by default and is visible
only when you hover your mouse over the docking bar. The docking area stays open if
your pointer is within the docked dialog box or panel so that you can interact with it
as required. The docking area auto-hides as soon as you move your pointer away from
the docked dialog box and the contents of the docking area is collapsed.
- To pin the docking area, you can: .
- Click Pin
 that is displayed when you hover over the docking bar. that is displayed when you hover over the docking bar. - Click Pin
 in the docking bar. in the docking bar.
|

 tab is available in the left docking area only and lets you display the