-
From the Shape tools section of the action bar, select Contour
 . .
-
Select the support surface.
-
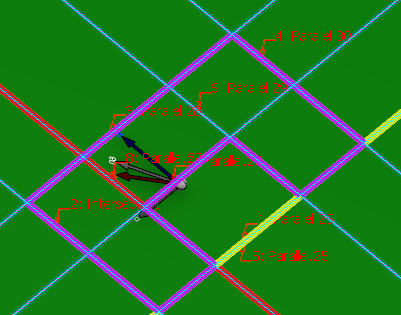
Select the first curve.
Its highlight remains throughout the contour creation to help you close the contour.
Its callout is displayed in the middle of the curve for a better view. 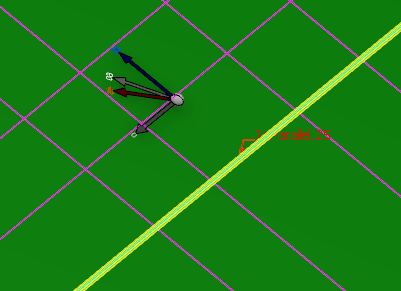
-
Select the second curve.
If the selection is not valid, an information is added to the callout. The curve is highlighted.
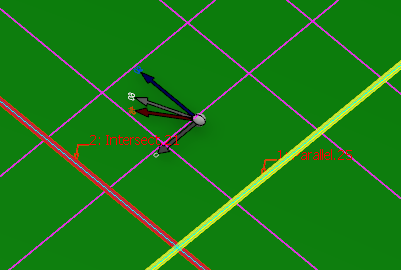
Whenever you select a curve, its name is displayed. There is a reframe on the name of the curve in the list displayed in the dialog box.

-
Select the third curve.
This selection defines a portion of curve that can be part of a contour. This portion is highlighted.
This is only an indication that the next selection can make irrelevant. 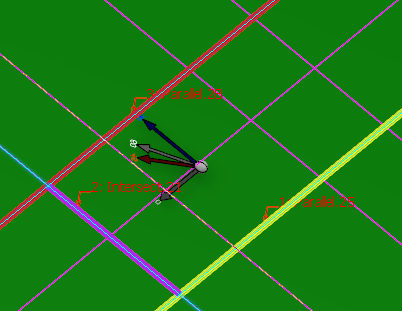 -
Continue the selection.
If a possible closed contour is detected, it is displayed with a special highlight.
If you select another curve no longer leading to a closed contour, the special display disappears. 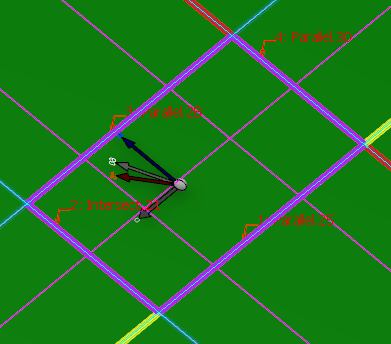 If the geometry is too complex to define a portion of contour, only the first selected curve is still displayed with a special highlight. The complete special highlight reappears when portions of a contour, or a closed contour are detected again. Note:
You can select the same curve several times.
- Use
Insert After, Before, Add and Remove
to modify the order of the curves as well as the contour.
- Define the Extrapol Distance
that is the gap tolerance to support curves that do not
intersect or are not connected.

- This can be the case of the output curve of slicing features.
- Extrapol Distance represents the accepted extrapolation value, that is,
curvilinear distance, for the curves that do not form a closed contour.
- It is stored in the tree.
- By default, Extrapol Distance is 0.2 mm.
- To
create curves for the contour, right-click the curves
box and create the element you need.
|