Managing Screens | |
| |
Specify a Start Screen
All data perspectives have a start screen, that is the screen that displays first, when you open the data perspective in view mode.
By default the first screen is the start screen.
- In the Screen properties panel, from Display > Screen display, select Show as start screen.
- To create a standard home page, add a sidebar menu to the screen. See Configure a Sidebar Menu for the Start Screen.
Change the Screen Display
It is important to adjust the screen so that the viewers can get a nice display, especially on small widgets within the 3DEXPERIENCE platform. It is better to avoid having multiple scrollbars.
- Fit to page: Visualizations do not exceed the height of the available space in the page.
- Fit to width: Applies to the whole page. Visualizations do not exceed the page width, regardless the size. This it the default option.
Specify the Background Color of a Screen
Configure a Sidebar Menu
- In the Screen properties, go to Sidebar.
-
From Menu, select a menu previously defined in
 Menus.

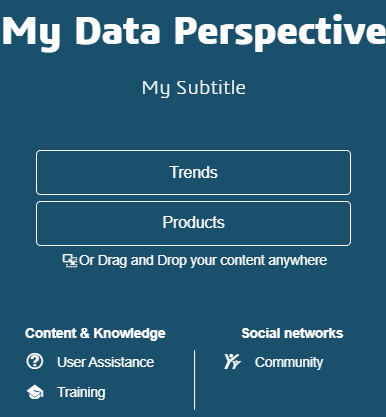
Configure a Sidebar Menu for the Start Screen
For a standard app, it is better to add a specific start screen (or home page), with links to the other app screens.
- Selected the Display > Screen display > Show as start screen option.
- Defined the screens to show in the sidebar menu.

Specify an On-Drop Effect
You can specify effects when users drop data on the screen. This can be from another 3DEXPERIENCE platform widget, or from another visualization in the Data Perspective app.
-
In the Screen properties, go to
Actions, and click
 On
drop.
-
Click
 Effects to add a new effect.
-
Select the effect Behavior.
Option Description Filter Filters screen data with the content dropped on the screen. Target studio variable: Select the data query variable to store source data.
Data Query: Select the data query (defined in Data) to use as input.
Result set: Select the result set of the data query (defined in Data) to use as input.
Field: Specify the field to update to filter data.
Set variable Specify the variable that stores the data. Target studio variable: Select the data query variable where Data Perspective Studio stores source data.
Navigate to page Select the destination page to open when you drop an object from another widget. Target screen: The destination page where the user goes after dropping an object from another widget. For example, for a page showing risks, dropping a risk from another page could redirect the user to a details page.
- In Object type, specify the name of the dropped object type.
Duplicate a Screen
You can duplicate an existing screen inside the same app.
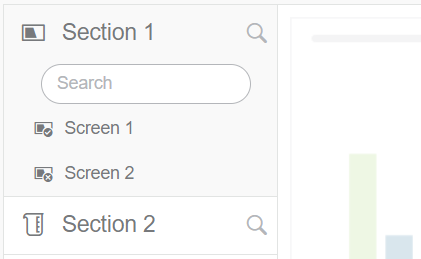
<screen name> - copy appears in the left panel, under
Delete a Screen
- When you delete a screen, the previous screen in the list gets selected automatically.
- When you delete the start screen, which bears the
 icon, the first
screen in the list automatically becomes the start screen.
 - Any data perspective must contain at least one screen, meaning that you cannot delete the last screen.