Adding a Cleats Section | ||
| ||
-
From the Conveyor section of the action bar, click Add Section
 .
The Conveyor Section Type panel appears.
 -
Select Cleats.
The New Cleats Section panel appears.
The panel indicates in red selections that must be made (Cleats and Trajectory) before the new section can be created.
-
Select a 3D part in the work area.
A context toolbar appears and points to the currently selected part. It provides Select father part
 and Select child part
  to select the father or child of the selected part, respectively. These commands appear only during the first cleat selection.
 - Click Add cleat
 to define the selected part as a new cleat.The added cleat is displayed with a bounding box and index label.Note: Upon adding a cleat, a Remove cleat
 appears in the context toolbar to remove the cleat from the section, if necessary.
 - Select another cleat and click Add cleat
 .
.When the second cleat has been validated, Increment
 and Decrement
  appear in the context toolbar to allow for modification of the cleat index.
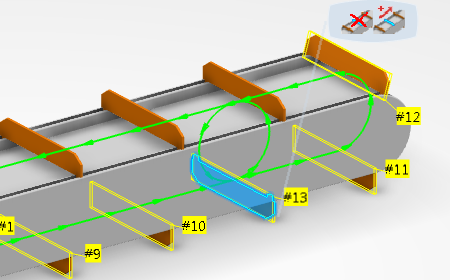
 This index is used when computing the default trajectory: the trajectory is computed from the position of the selected cleat, but the order of the cleat is also important. If a new cleat is added to an existing section of cleats, the index may be out of order as in the following example:

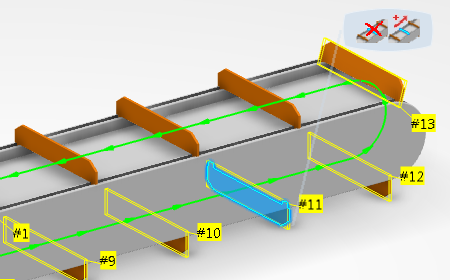
You can use Increment
 and Decrement
  to restore the correct order:
- When all cleats have been added, click Finish.
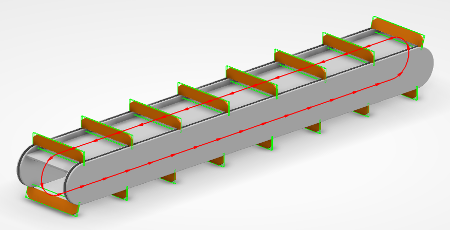
The new cleats section is displayed in the work area, and the Section Properties panel appears.
In the work area, the shape associated to a cleat (position and lengths) can be modified.

- Click OK.The section is created and displayed in the work area.
