 -
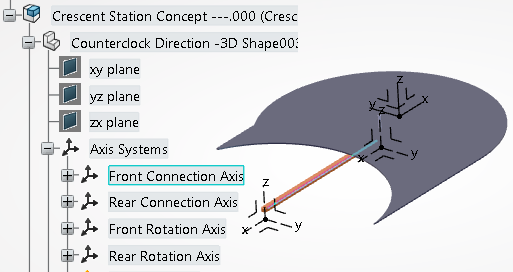
From the Conveyor section of the action bar,
click Add Section
 and select a
conveyor in the work area. and select a
conveyor in the work area.
The Conveyor Section Type panel appears.  -
Select Slat in the Conveyor Section Type
panel and click Next.
The New Slat Selection panel appears. 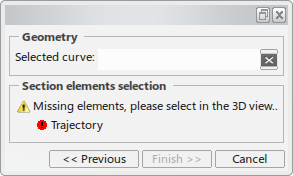 -
In the work area,
select the conveyor curve and click Finish.
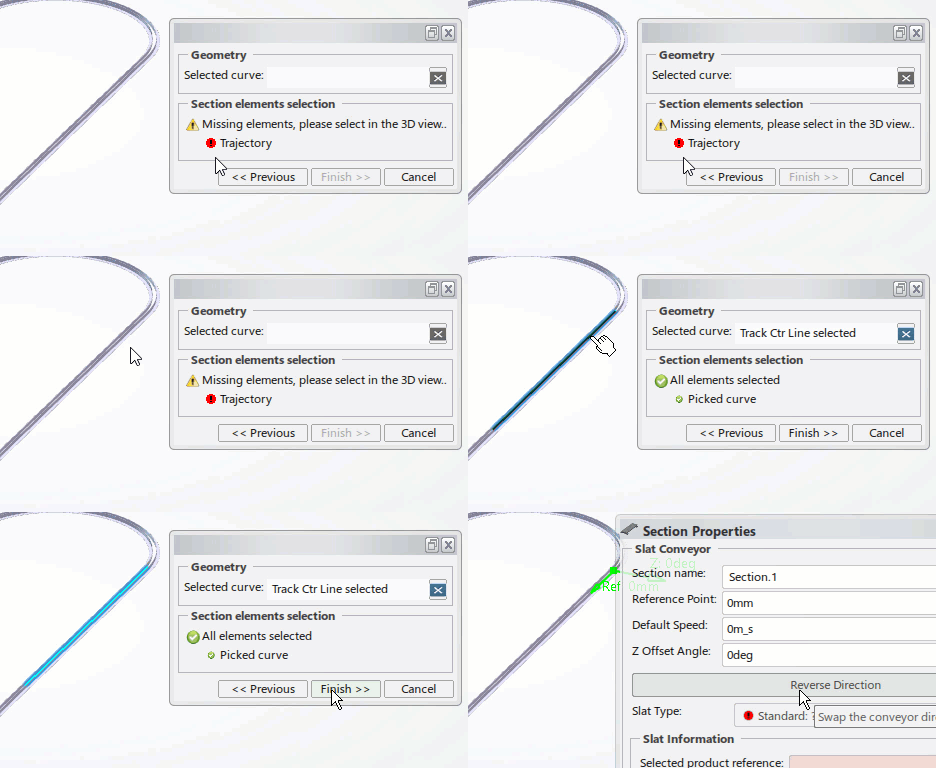
The Section Properties dialog box appears. 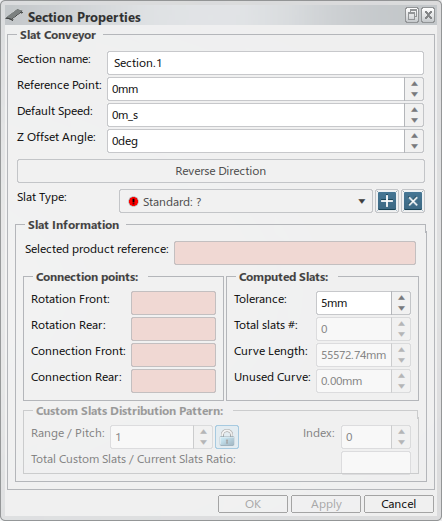 -
Enter a Section name, Reference Point,
and Default Speed for the section.
-
Click Reverse Direction to flip the conveyor’s travel direction.
You can also click the arrow in the work area.
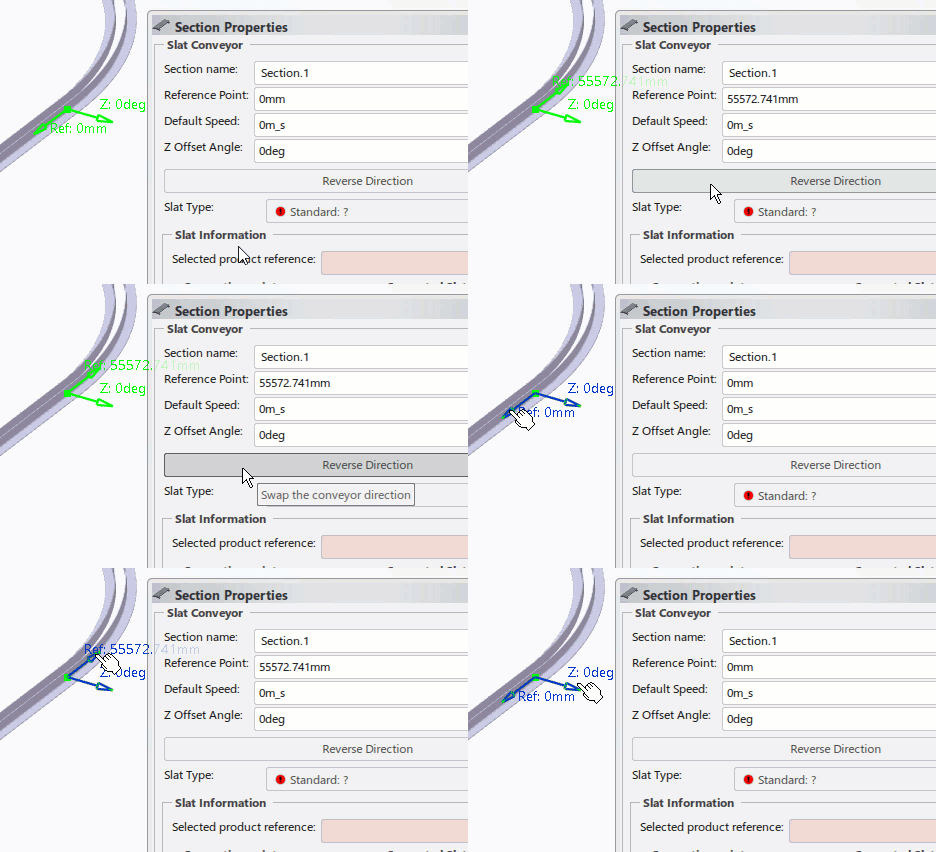
The section's travel direction arrow is updated accordingly.
-
Set the Z Offset Angle to rotate to the proper the slat up
direction. You can also click the arrow in the work area to
rotate around the travel direction in 90 degree increments.
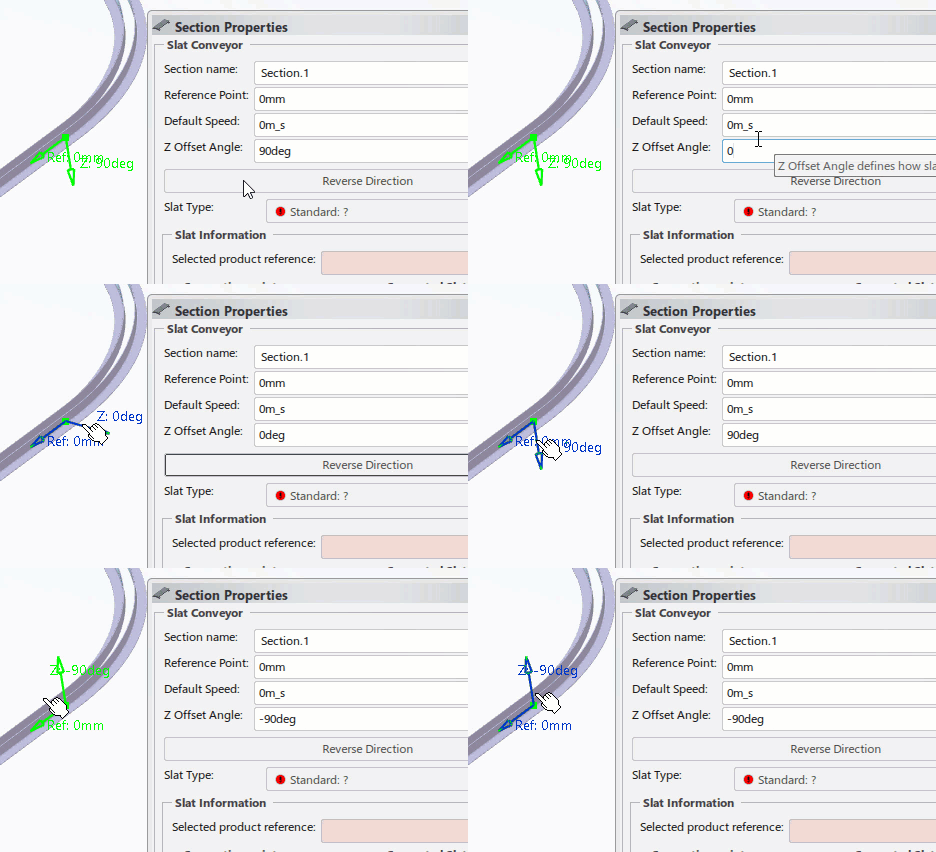
The up direction arrow is rotated about the travel direction accordingly
-
For Slat Type, click
 to delete the
standard slat, then click to delete the
standard slat, then click  to create a custom
slat. to create a custom
slat.
The standard slat is removed and a custom slat is created.
-
Select a slat in the tree.
The Slat Information section of the dialog box is
populated with the properties of the selected slat. 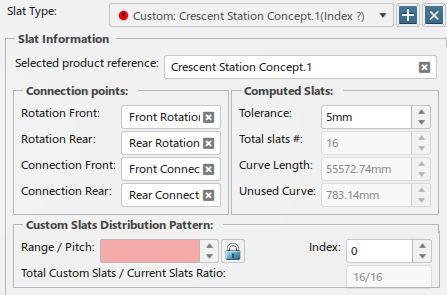
-
Click Apply to preview the changes.
The entire section is populated with the selected crescent (16 pieces). 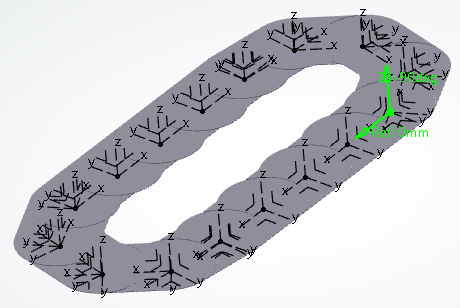 -
Click OK to complete the section definition.
-
Click Update
 . .
-
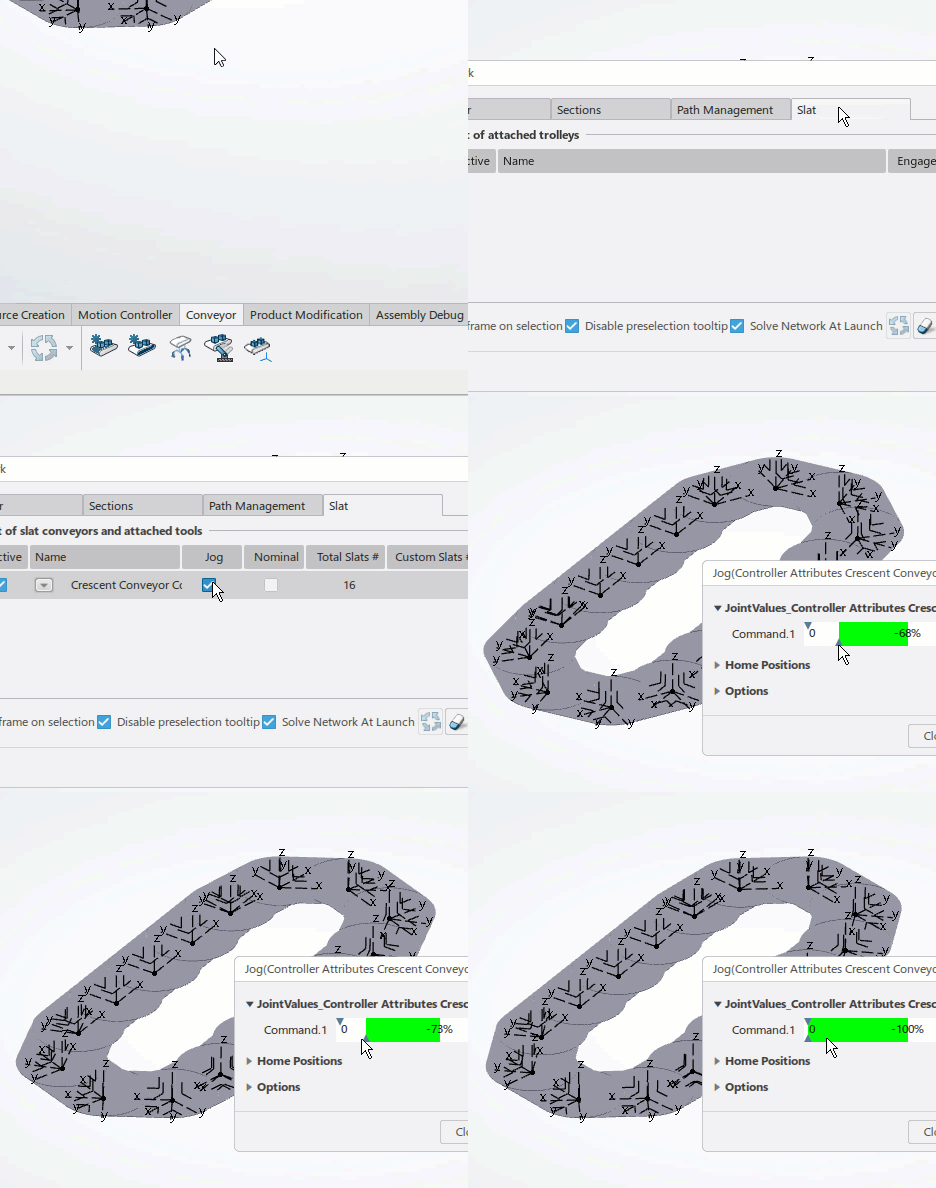
Click Conveyor Network, select the Slat
tab, and Jog the newly created conveyor.
|

