Modifying Product Flow Display | |||||
|
| ||||
- Select a product flow link.A context toolbar appears allowing you to choose the start or end positions of the link.

- Click End anchor position
 then select one of the positions for the end point of the link (East
  , for example).
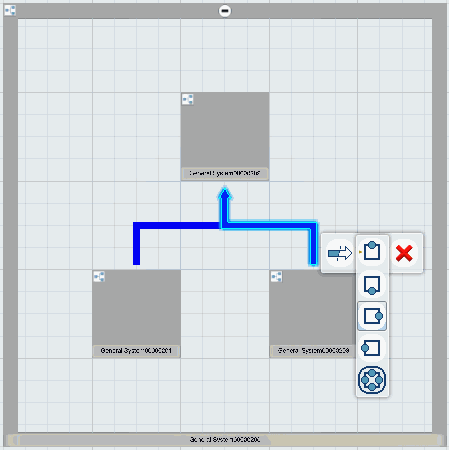
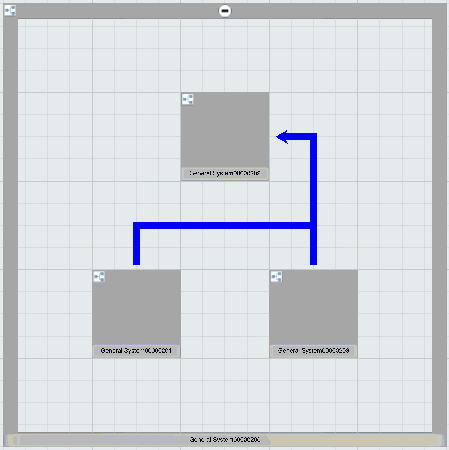
The product flow now ends at the right-hand side of the target system.
Note: When the product flow starts or ends on an operation, there is no choice for defining the position: for an operation, the product flow goes straight in the direction of the center of the operation. However, you can define the position of the end of the arrow at the top of the parent system.