-
From the Authoring section of the action bar,
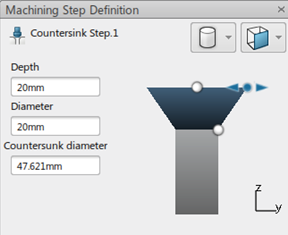
select Machining Step Countersink
 to create a countersink machining step. to create a countersink machining step.
-
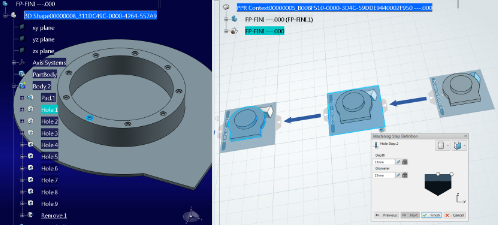
In the tree, select a Transform manufactured item.
The machining step is created under the Transform manufactured
item.
-
Depending on the machining step selected, select one of the following:
-
In the Machining Step Definition dialog box, click
Next to define the machining step attributes.

-
When all attributes are specified, click Finish to finish the
machining step creation.
Note:
Click Cancel to cancel the machining step creation.
-
You can edit an existing Machining Steps: from the context menu of
the PPR Tree, click Edit Machining Step.
|
 to create a countersink machining step.

