Creating a Cavities Roughing Operation | ||||
|
| |||
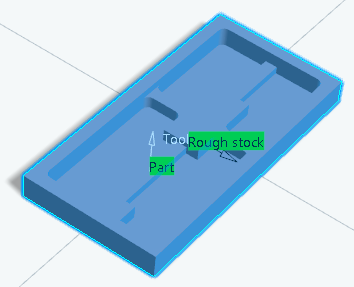
- Create a rough stock on the part to machine.
- From the Surface Machining section of the action bar, click Cavities Roughing
 .
The Cavities Roughing dialog box appears directly at the Geometry tab
 .
.
- Select the Rough stock

and the Part to machine.
- Go to the Machining Strategy
tab
 and set the Center Definition parameters as listed below.
- Remaining thickness for sides to 3mm
- Minimum thickness on horizontal areas to 0mm
- Do not select Machine horizontal areas until minimum thickness
- Select Pocket filter
- Go to the Tools tab
 to select a tool.
 -
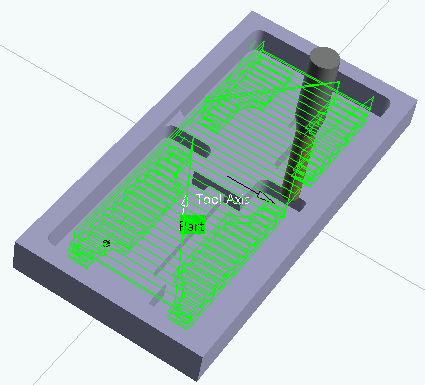
Click Display or
Simulate to check the validity of the machining operation.
- The tool path is computed.
- A progress indicator is displayed.
- You can cancel the tool path computation at any moment before 100% completion.

- In the Machining Strategy tab
 ,
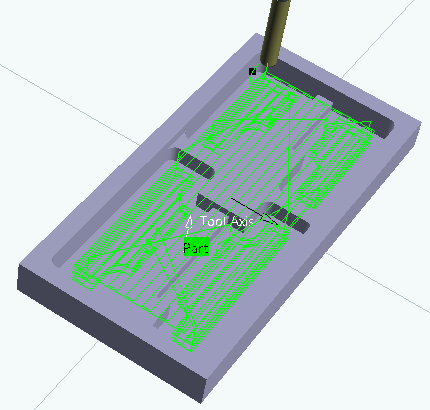
right-click the machining direction arrow and select Optimize.
 -
Click Display or
Simulate again.

The tool path direction has been adapted to the geometry to machine: It is defined by the shape of each pocket and set along the main direction (X or Y).
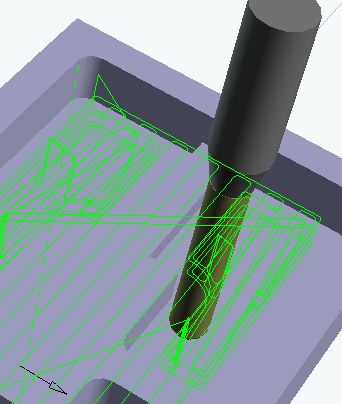
- Go to the HSM tab and make sure the High speed milling check box is selected.
-
Click Display or
Simulate again.
Note: The corners are now rounded for high speed milling.
