- From the Surface Machining section of the action bar, click Multi-Axis Curve Machining
 . .
A Multi-Axis Curve Machining entity is are added to
the manufacturing program.
The dialog box opens at the Geometry tab
 .
- Still in the Geometry tab, set the Curve Machining mode to Contact to drive the contact point.
-
Still in the Geometry tab, define the geometry:
- Click the red part in the sensitive icon, then select faces in the work area.
- Click the red guide element in the icon, then select edges in the
work area. The faces and
the edges are selected.
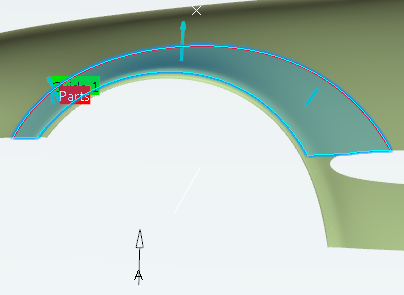
Note:
A guide is created for each set of continuous
edges. Discontinuous guides are accepted.
The part and guide elements of the icon are now colored green
indicating that this geometry is now defined. These are also
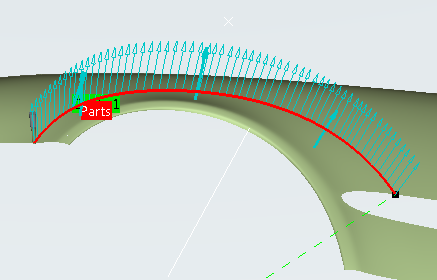
indicated on the part. Make sure that the arrows representing the
part surface orientation are all pointing upwards.
-
Go to the Strategy tab
 to specify parameters for:
- Machining
- Tool path style (e.g. Zig zag)
- Machining tolerance
- Direction of cut to climb
- Sequencing to Radial first (by segment)
- Max discretization step
- Max discretization angle
- Type of contouring to Circular
- Forced contour to None
- Close contour overlap (%) to 50
- Radial
- Distance between paths
- Number of paths
- Axial
- Maximum cut depth
- Number of levels
- Finishing
- Tool Axis
- Tool axis mode to Lead and tilt
- Go to the Tools tab
 to select a tool. to select a tool. - Go to the Feeds and Speeds tab
 to specify the feedrates and spindle speeds for the machining operation. to specify the feedrates and spindle speeds for the machining operation.
- Go to the Macros tab
 to specify the machining operation transition paths (approach
and retract motion, for example). to specify the machining operation transition paths (approach
and retract motion, for example).
If a transition between two curves is smaller than the tool radius,
the clearance macro is not executed.
The tool continues straight on over the gap between the
curves.
-
Click Display or
Simulate to check the validity of the machining operation.
- The tool path is computed.
- A progress indicator is displayed.
- You can cancel the tool path computation at any moment before 100% completion.

- Click OK in the Display or
Simulate dialog box, and again in the main dialog box to create the machining operation.
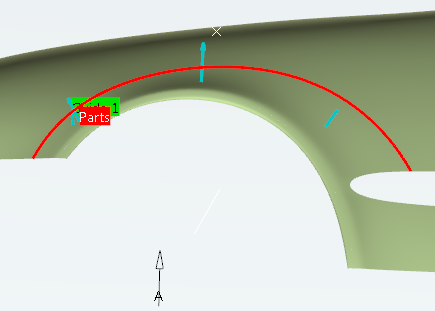
The tool path is created.
|
 .
A Multi-Axis Curve Machining entity is are added to the manufacturing program. The dialog box opens at the Geometry tab
 .
.

 to specify parameters for:
 to select a tool.
 to specify the feedrates and spindle speeds for the machining operation.
 to specify the machining operation transition paths (approach
and retract motion, for example).
