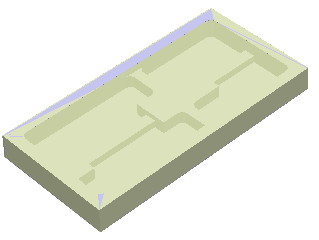
- You are going to machine the center of a part like this one.

If it does not yet exist, create the
rough stock.
- From the Surface Machining section of the action bar, click Power Machining
 . .
A Power Machining entity is added to the
manufacturing program.
The dialog box opens at the Geometry tab
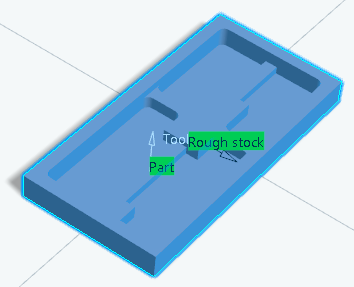
 . - Still in the Geometry tab:
- Click Part in the sensitive icon and select the
part.
- Double-click anywhere in the work area to revert to the dialog box.
- Click Rough stock in the sensitive icon and select the rough
stock.
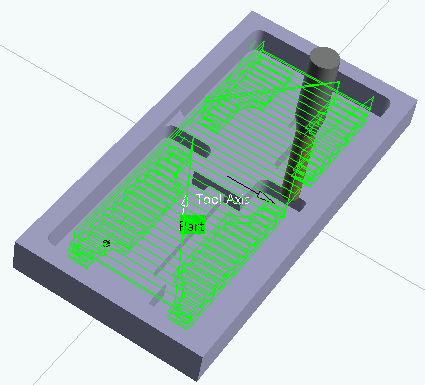
- Go to the Strategy tab
 and make sure the
Machining strategy is set to Center(1) only. and make sure the
Machining strategy is set to Center(1) only. - Go to the Tools tab
 to select a tool. to select a tool. -
Click Display or
Simulate to check the validity of the machining operation.
- Go to the Geometry tab
 to optimize the tool path. to optimize the tool path.- Right-click the machining
direction arrow and select Optimize from its context menu.
-
Click Display or
Simulate to check the validity of the machining operation.
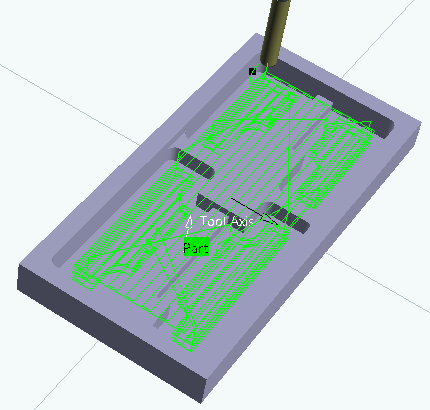 The tool path direction has been adapted to the
geometry to machine,
i.e. defined by the shape of each pocket and set along the main
direction (X or Y). - In the Strategy tab
, go to the Center tab, then the HSM tab and make sure the High speed milling
check box is selected.
-
Click Display or
Simulate to check the validity of the machining operation.
The corners are rounded. 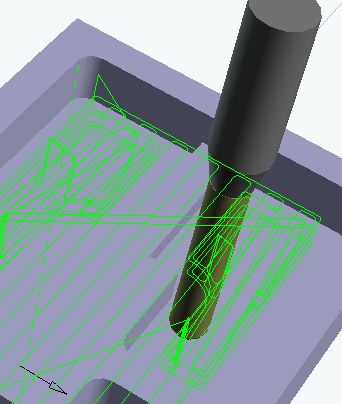
|