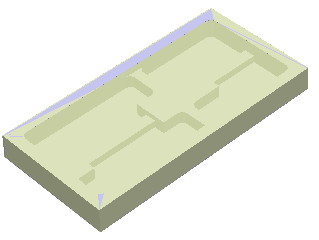
- You are going to machine the center and the sides of a part like this one.

If it does not yet exist, create the
rough stock.
- From the Surface Machining section of the action bar, click Power Machining

A Power Machining entity is added to the
manufacturing program.
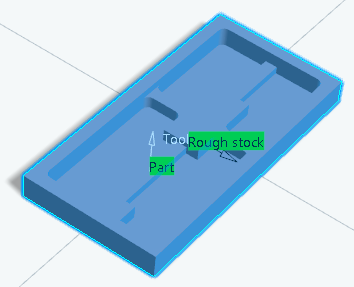
The dialog box opens at the Geometry tab
 . - Still in the Geometry tab:
- Click Part in the sensitive icon and select the
part.
- Double-click anywhere in the work area to revert to the dialog box.
- Click Rough stock in the sensitive icon and select the rough
stock.
- Define imposed planes.
-
Click one area Imposed and select a first
plane (shown under the pointer):

- Repeat with the other area
Imposed and select a
second plane:

You can: - Impose two sets of planes.
- Set an offset on each of them, using their context menu.
- Go to the Strategy tab
 and make sure the Machining Strategy is set to Center(1) and Side(2). and make sure the Machining Strategy is set to Center(1) and Side(2).
- Go to the Tools tab
 to select a tool. to select a tool. -
Click Display or
Simulate to check the validity of the machining operation.
The center and the walls are machined in one shot. 
|