Defining Item Positions | ||
| ||
-
From the Setup section of the action bar, click
Define item position
 , and
select the base item.
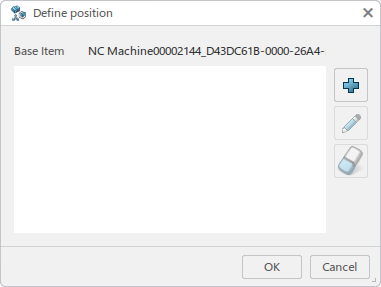
The Define position dialog box displays.
 Note: If predefined positions exist, all the items are listed in the dialog, with items positioned with respect to the base item.
 -
Click
 to add the
items to position.
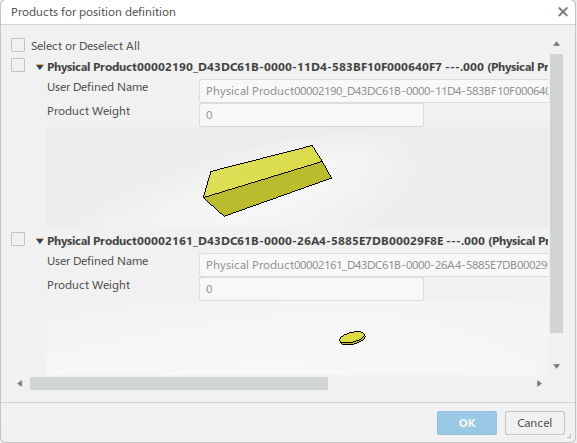
Note: You can select products that are part of the input/output to an activity, or a product subassembly under the manufacturing product resource. In case of planning data, you can only select operations or processes that are part of the input/output to an activity.The Products for position definition panel displays.
-
Select the items to position and click OK.
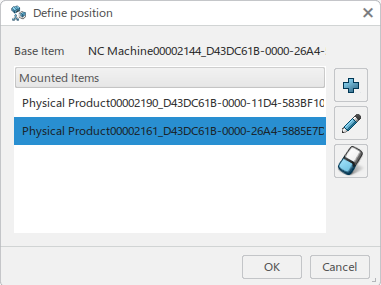
The Define position dialog box displays and lists the positioned items. The last item in the list is automatically selected.

-
Select the items and click OK.
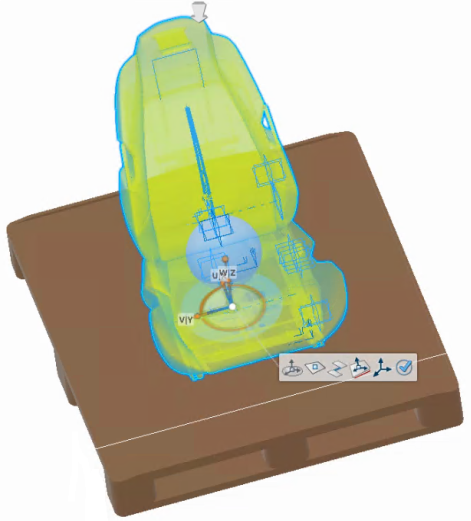
The items' associated geometry displays at the defined position. By default, the geometry displays at the first product zone (if it exists) or at the origin of the selected base resource.
- Optional:
Select the item and click
 to modify
the position.

Snap bubble options let you position the object. You can define the snap point on the selected object, and position the object with that point at any position.
The bubble bar options let you select a point on a geometry, port, axis, center of a cylinder, and a product origin.
- Optional:
Select the item and click
 to remove
the position. You can remove multiple positions at once.