Managing User Logics and User Attributes

You can define user logics and user attributes on products.

This task shows you how to:

Create a User Logic

  1. From the Programming section of the action bar, click Manage Logics .
    The Manage Logics dialog box displays.

  2. Click . The Define User Logic dialog box displays.
  3. Enter a Name for the user logic and select a Type.
  4. Click Add Logic to write the logic.

    Use the Formula and Parameter Editor panel that displays to modify the values of the parameters.

  5. Optional: Click to edit the user logic.
  6. Click OK to validate the user logic.

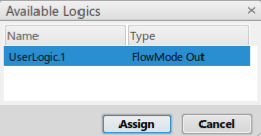
The created user logic displays in the Manage Logics dialog box.

Assign a User Logic

  1. Right-click a resource or activity in the tree and click Resource Configuration.
    The Resource Configuration table displays.
  2. Right-click a resource, and, in its context menu, click Logic, then click Assign Logic.

    The Available Logics dialog box displays.

  3. Select the user logic to assign, and click Assign.

The selected user logic displays in the User Logics column of the Resource Configuration table.

Manage User Attributes

  1. From the Programming section of the action bar, click Manage User Attributes .
    The Manage User Attributes dialog box displays.

  2. Click to select an exiting product in the tree.
  3. Click Add Attributes from Excel to import a list of user attributes from an existing Excel file.
  4. To edit an existing user attribute: select it and click . Use the Formula and Parameter Editor panel that displays to modify the values of the parameters.
  5. Click Close.

The newly added attribute is listed in the Manage Logics dialog box.