Applying a Tangency Constraint on a Point | |||
| |||
-
Move the pointer over an existing curve, double-click it, then right-click and
select Impose Tangency.
Two sets of handles are displayed:
- An arrow representing the tangency vector.
- Two circles, each having a zone for this vector.
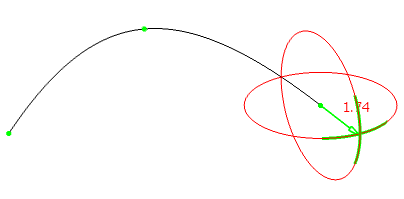
- Adjust the tangency constraint
by doing any of the following:
- To modify the direction of the tangency vector, drag the circle.
- To invert the direction of the tangency vector, double-click the arrow.
- To modify the amplitude of the tangency vector, drag the arrow.
In this example, the amplitude of the tangency vector has been increased.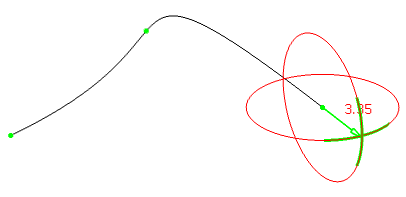
- To define the constraint according to an external element, right-click any of the handles.
- Select one of the options from the context menu.
- Use Robot Normal: The tangency constraint is defined in relation to the normal to the current plane, possibly defined by the normal to the Robot main plane. When several points are constrained on the Robot, all are modified if the Robot settings are changed. When this option is checked, the direction cannot be modified directly using the tangency vector arrow, but only using the Robot.
- Constrain on element: Available only when a point
is already constrained on a curve. The curve being created/modified becomes
constrained in tangency or curvature to the constraining curve at this point.
- Tangency constraint: in this case you can only modify the vector's norm using the Edit context menu, and no longer the vector's direction, the latter being defined by the constraining curve.
- Curvature constraint: In this case you neither modify the vector's
norm using the Edit
context menu, nor the vector's direction,
the latter being defined by the constraining curve.
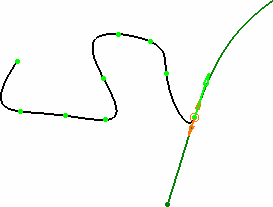
- Snap on elements: The vector's direction is
defined by an external element. Grabbing a handle, you drag the pointer over
a curve, and the curve becomes tangent to the curve detected by the pointer.
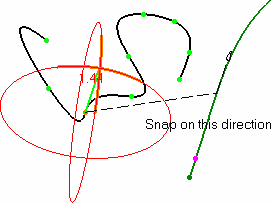
If the pointer is over a point the direction is computed as the line going from the constrained point and the detected point.
If the pointer is over a plane, the tangency is defined by the normal to this plane.
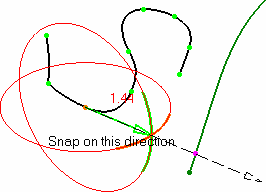
Notes:- When snapping on an element, use the Control (Ctrl) key to obtain an exact snap, taking into account both the detected element and the vector's norm.
- Use the Shift key as a shortcut to activate/de-activate the Snap on elements option when passing the pointer over geometric elements.
- Once you are satisfied with the tangency constraint you
imposed, release the handle and move the pointer around to
display the curve preview. You are now ready to create a new point.