Installing Only the License Administration Tool on Windows | ||
| ||
- Insert the media into the drive.
If the DS License Server is distributed on an assembly media, go to the directory containing the DS License Server software, locate the SetupDSLSmsi.exe file and double-click it to start the installation.
In either case, a dialog box appears informing you that the installation is about to commence, followed by the dialog box welcoming you to the DS License Server setup wizard:
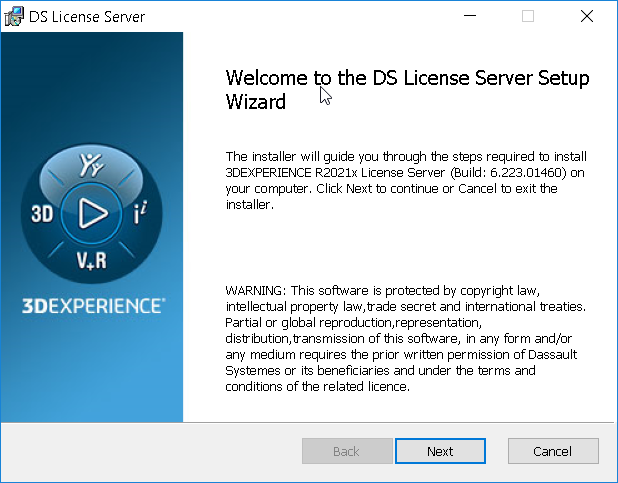
Click Next.
- Specify the installation folder and installation type.
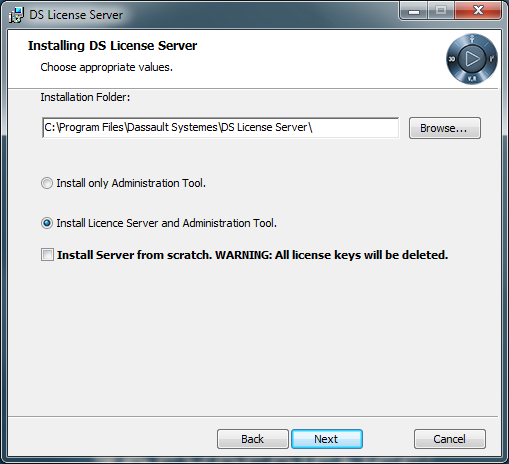
The default destination folder is: C:\Program Files\DassaultSystemes\DS License Server
If you want to change the destination folder click Browse...and navigate to select another folder and click OK.
The folder you choose must be empty. You can also specify a new folder: if the folder does not exist, you will be prompted to specify that you want the folder to be created, in which case you must click Yes to create the folder.
Then select the installation type. You have two choices:
- Install only Administration Tool
- Allows you to install only the License Administration Tool.
- Install License Server and Administration Tool
- Default option.
In our example, we are going to install only the License Administration Tool, so use the Install only Administration Tool option.
-
Select the Install only Administration Tool check box.
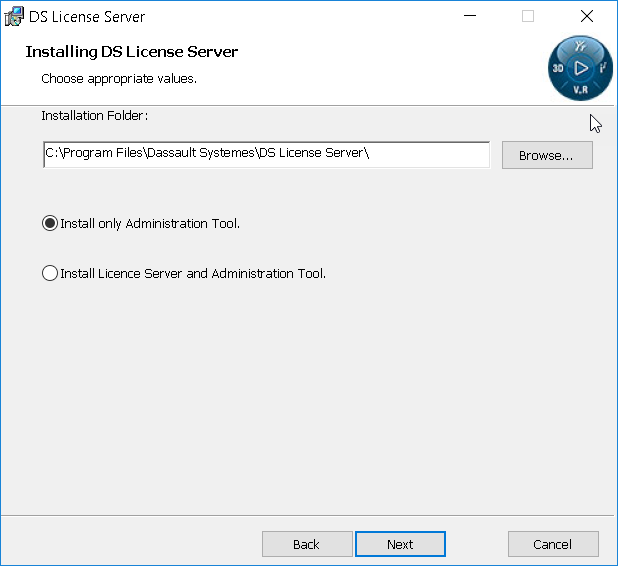
Click Next.
-
Install the Administration Tool.
The Ready to install DS License Server dialog box appears:
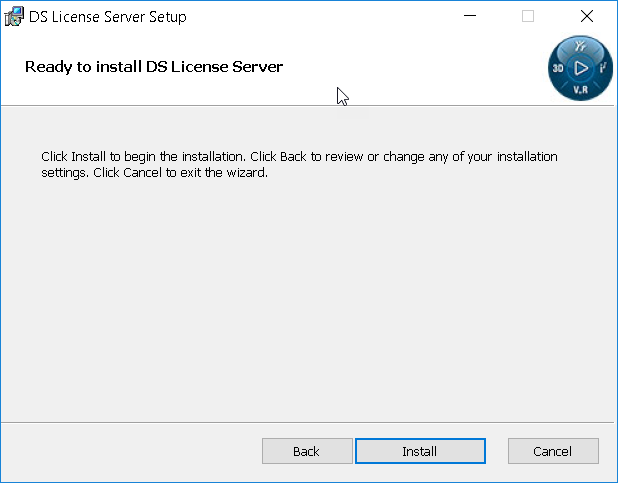
Click Install to install the License Administration Tool.
A progress bar is displayed while the License Administration Tool files are installed. Once the installation has been completed, the following dialog box appears:
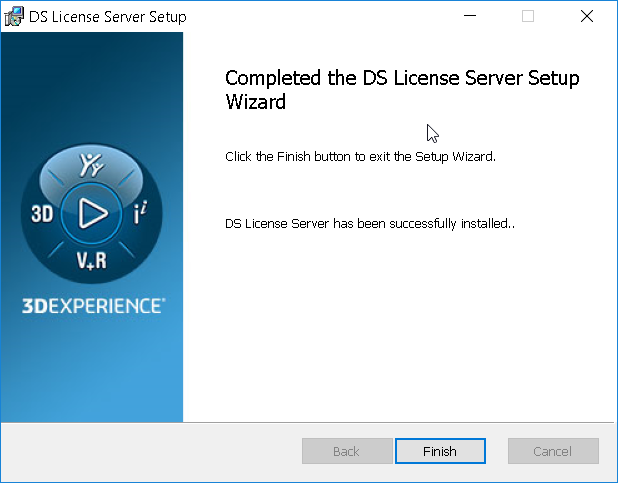
The License Administration Tool is launched automatically.
-
Click Finish to exit the setup wizard.
If you are installing the DS License Server for the first time (in which case, no previously configured License Administration Tool settings are present), the Server Definitions tab is displayed with the License Server Connection Parameters dialog box:

The license sever name field contains the name
localhostby default, but you can of course specify another name. - Specify the license server by typing its name in the License Server Name field.
As you type the name, the name will be displayed in red characters until the full name you specify has been detected, in which case the name is displayed in black.
Note: The License Administration Tool may communicate with forward and reverse proxies. For more information, see Communicating through Forward and Reverse Proxies.Click OK to confirm the name.
The Server Definitions tab now looks like this:
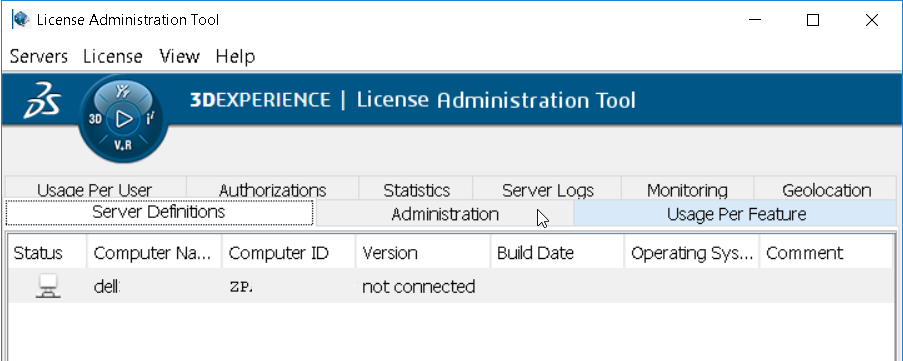
The server name has been specified, but the server is not yet connected.
If you point to the
 icon in the status column, next to the computer name, a message like this will be displayed:
server xxx not connected
where
xxxis the name of the computer on which the license server is being installed. - Connect to the license server.
To connect to the server:
- Select the Servers - Connect command and select the server name from the list.
- Or, select the Servers - Connect all command.
-
Or,
point to the icon, right click and select the Connect
command.
- Or, double-click on the icon.
If you did not enroll a license during the installation, the
 icon appears over the computer icon like this
  .
.
The installation results in the following:
- a License Administration Tool is installed on the local machine
- an installation log file is created in:
%TEMP%\DSLSmsi.log
- in the Start -> All Programs menu, the entry DS License Server is added, containing the commands License Server Administration and License Server Documentation.