Right-click the sketch in the tree and select Sketch.x object > Change Sketch Support.
The Sketch Positioning dialog box appears.
Right-click the Reference box and choose Select Reference Plane.
The Plane Systems dialog box appears.
It allows you to select a reference plane from the existing plane systems.
Select appropriate system in the Select system list, FRAME, for example.
The selected system appears in the Select sub-system list and accordingly
the reference planes appear in the Select planes list. For example, if you choose FRAME, Transversal Frame -x planes appear in the Select planes list.
Choose required plane in the Select planes list.
You can choose the plane from the list or directly in the work area.
The selected reference plane appears in the Key in planes box.
Click OK.
The plane appears at the selected location.
Click OK in the Sketch Positioning dialog box.
The sketch plane is moved from its original plane and appears at the selected reference plane location.
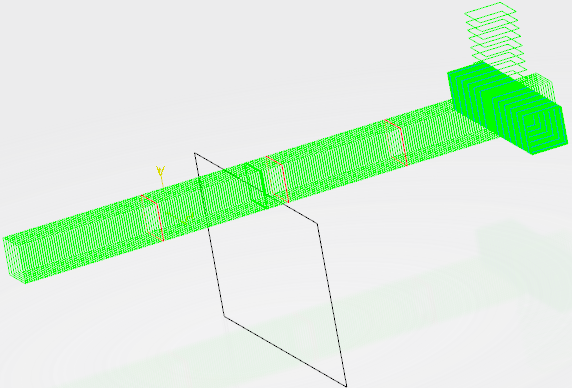
You can now start creating geometry as per your requirement.