Managing Access Rights | ||||||
|
| |||||
 All
Groups
All
Groups


-
Select either of the following:
- In the Access Rights tab , click
 Add Access
Right, and in the Manager or
Owner fields, enter the name of the member or if the the user
has not validated the platform invitation yet, the email, and select
it, and click
Add.
Add Access
Right, and in the Manager or
Owner fields, enter the name of the member or if the the user
has not validated the platform invitation yet, the email, and select
it, and click
Add.Important: - If the group is private and you grant Manager or Owner rights, those members will see the group in their list of groups, and the list of members of the group.
- If they are already members of a group that has been used to add them to an app, they might know who are the members of the group if the name or the description of the group are explicit enough.
- Select the Access Rights tab, and in the top bar search
field, enter the name of the user, and in the search results list select the user and
drop it to the Access Rights section.
Tip: Minimize  the
search results list to display both the user group and the results so that you can
drag and drop the user.
the
search results list to display both the user group and the results so that you can
drag and drop the user.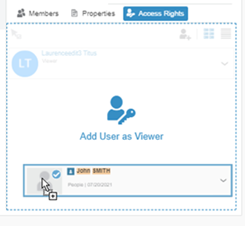
Repeat these steps as many times as required.
- In the Access Rights tab , click
The selected access right is granted to the selected member. To revoke or switch access rights, from the context menu of the given user select Revoke Access or an alternative role.
By default, the list of
members is displayed in ![]() Tile View. Click
Tile View. Click ![]() Table View to switch the view.
Table View to switch the view.