Configure Exalead CloudView Using the Setup Wizard
Go to
http://<HOSTNAME>:<BASEPORT+1>/setup.
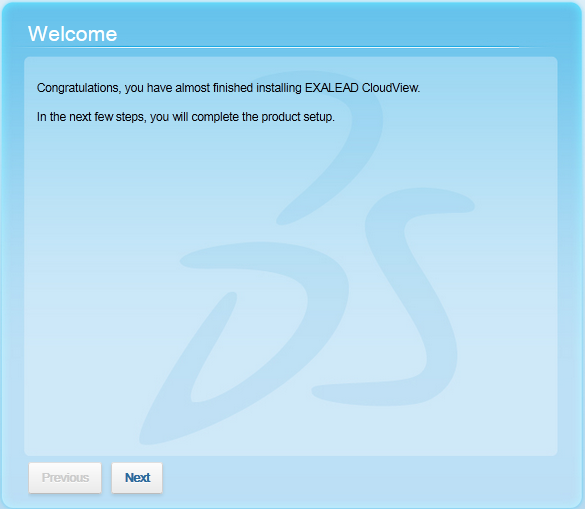
The
Welcome screen displays.
On the
Welcome screen, click
Next.
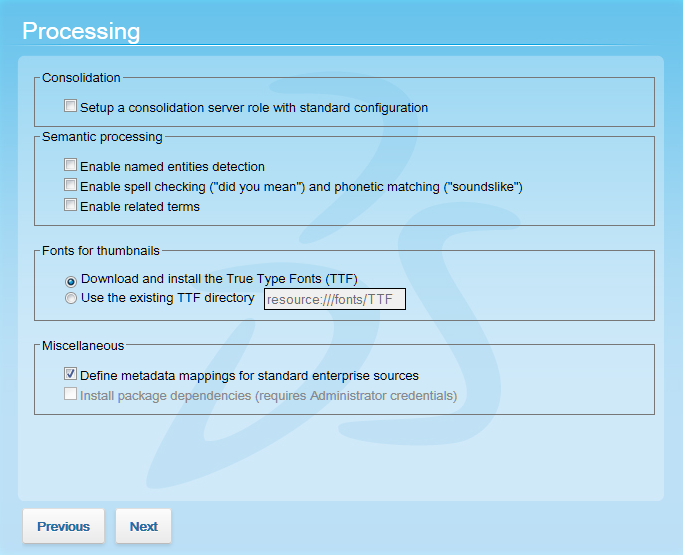
The
Processing screen displays.
Select the options you need:
Option
Description
Set up a consolidation server role with standard
configuration
Installs a default consolidation server (cs0) in
Administration Console > Deployment > Roles >
Indexing.
Enable named entities detection
Analyzes documents to detect named entities: locations, events, people,
or organizations during indexing.
Enable spell checking
Enables "Did you mean" spell checking and phonetic matching
(soundslike) for search queries.
Enable related terms
Analyzes documents to detect related concepts within your corpus during
indexing.
Define metadata mappings for standard enterprise
sources
Installs the default data model document class with a
predefined configuration for enterprise search.
Note:
For the Exalead CloudView Getting Started
Guide tutorial, clear this option to install Exalead CloudView with an empty document class.
Install package dependencies
(Windows only) Installs several Microsoft redistributable
packages.
Click Next.
(Windows only) A separate screen prompts you to log in. Enter the Administrator user
name and password.
Click Next.
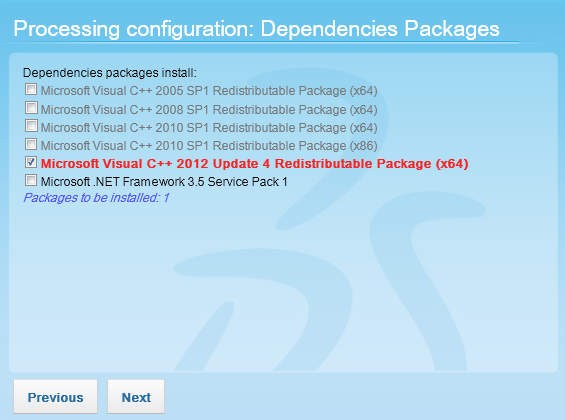
(Windows only) If you selected
Install package dependencies, you will see a
selected list of all the dependency packages to be installed.
Click
Next.
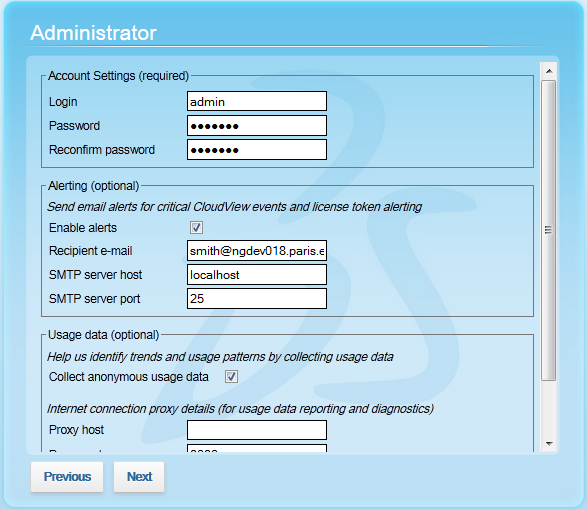
On the Administrator screen, set up the options for:
Option
Description
Account settings
Specify the login and password to use when accessing Exalead CloudView.
Alerting
(Optional) for critical Exalead CloudView events and license issues: specify the recipient email account
settings.
Note:
You can also enable alerts once the installation is complete.
For more information, see Enable Alerts If Not Defined at Setup in the
Exalead CloudView Administration
Guide.
Reporting
(Optional) on usage data and diagnostics: specify the proxy host and
port.
Click Next.
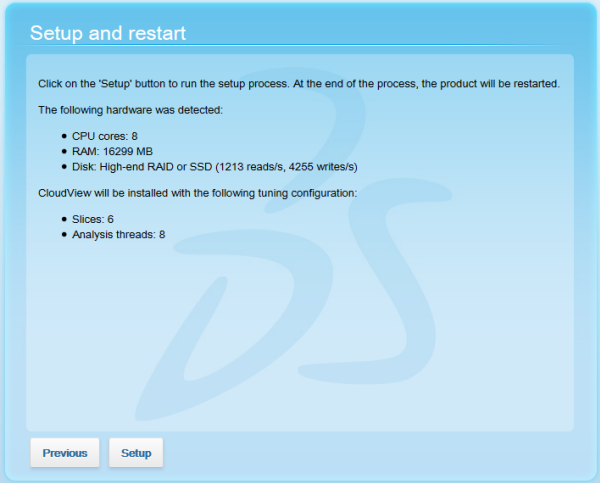
On the
Setup and restart
screen, click
Setup.
This runs the setup process and then restarts
Exalead CloudView
automatically.
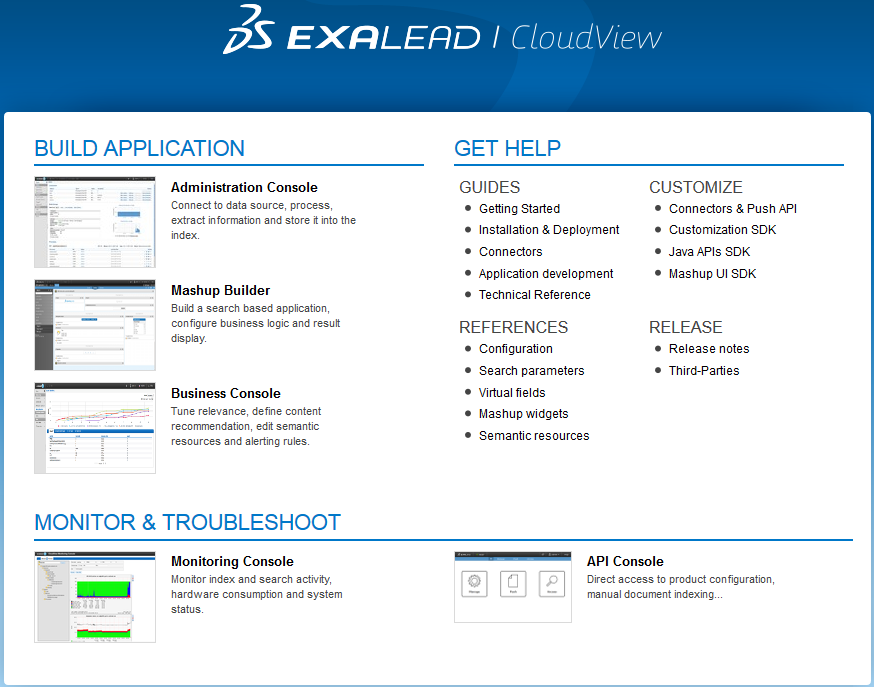
When you see the following screen, the setup is complete.
Exalead CloudView
Services page
Note:
Alternatively, if you do not want to use the setup wizard, you can use the
postinstall command-line tool, located in
<DATADIR>/bin to generate the configuration manually. Help is
available on the command line using the -h argument.
Access the Interfaces
Context: Once the installation is complete, you can access the product interfaces and
documentation through the Exalead CloudView Services available at BASEPORT+1,for example,
http://localhost:10001.