Adding Trusted Queries

Trusted Queries will guide your end-users through a set of structured suggestions based on your data model classes.

For our example, we’ll set this up for the file_extension category facet in the Administration Console. Then, in the Mashup Builder, we will add the Trusted Queries widget on the home page (or /index page) of our Mashup Builder application to enable trusted queries for the category facet(s) defined in the Data model.

Note: This widget is only available in Mashup Builder Premium.

This task shows you how to:

Configure Category facets for trusted queries

  1. In the Administration Console, select Data Model from the menu bar.
  2. On the Classes tab, from the Properties for the document class pane, select a property set as Category Facet. For example, file_extension.
  3. Expand the Advanced faceting options, and select Trusted queries support.
  4. Repeat steps 2 and 3 for the other category facets on which you want to enable trusted queries.
  5. In Search Logics > Query Language, make sure that datamodel_class_hierar­chy(class_hierarchy) and trustedqueries are in the list of prefix handlers.
  6. Click Apply.

Add trusted queries in Mashup Builder

  1. In Mashup Builder, go to the index page and select the Feeds view.
  2. Drag and drop a CloudView Search feed.
    1. Give it a name, for example, cloudview.
    2. For the Query property, enter a query, for example, #all.
  3. Select the Design view.
  4. Delete the Standard Search Form widget.
  5. Add a new Trusted Queries search form widget.
    1. In the Widgets panel, click the Search Forms widget category to expand it.
    2. Drag the Trusted Queries widget onto your page.

    The widget properties panel opens.

  6. In the General tab:
    1. Specify the feed(s) that should be refined when the user query is submitted, for example, cloudview.
    2. Configure the Action property to submit on the search page.
  7. In the Search API tab, for Search Logic, specify the search logic to use. If no search logic is defined, the default one will be used.

    Note: The trusted query widget uses the Search API directly.

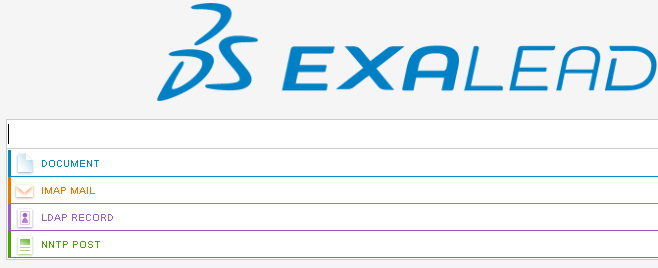
  8. Select the Preview and click in the Search field.
    The Trusted Queries search form displays a list of document types to guide you through the content.
  9. Click Apply.

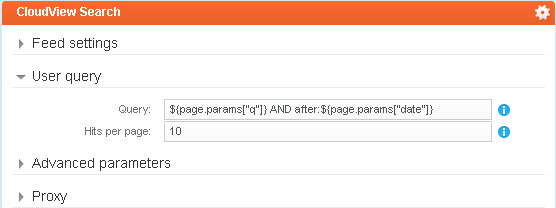
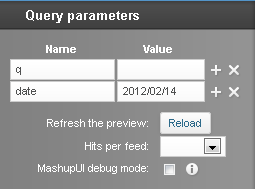
For example, if your feed query includes a date specification like ${page.params["q"]} after: ${page.params["date"]}, you can test it with a date value in the Preview page to see the feed behavior.