Routing Cross Branches | |||
| |||
-
Create a branch with an extremity ending on a branch point positioned on a primary branch:
- From the Branch section of the action bar, click Immersive branch Definition
 , and then select a connection point.
 - Click a primary branch to create a branch point.
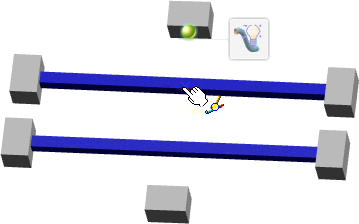
The branch is created.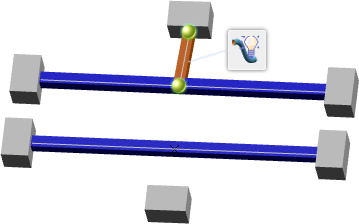
- From the Branch section of the action bar, click Immersive branch Definition
-
Route a new branch from the extremity of the branch you previously created:
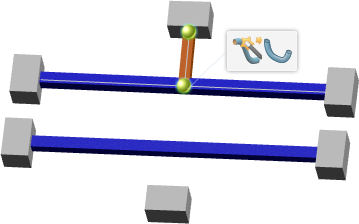
- Click the yellow bullet representing the branch point and select Creation Mode
 > Start New Branch
  .
.
- Click another primary branch to create a branch point.A new branch is created.
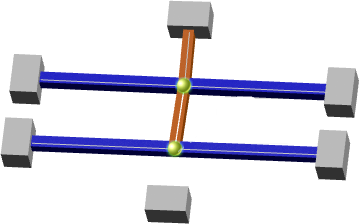
- Repeat steps a. and b. to add a third branch.All the branches in your design are physically connected.
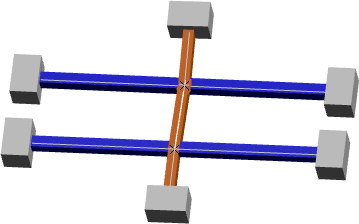
Notes:- Start New Branch is only available on branch points created as a branch extremity.
- Branches routed with Start New Branch are always created in the same electrical branch geometry.
In our example, the three created branches belong to the same electrical branch geometry.
- Click the yellow bullet representing the branch point and select Creation Mode
- Activate your electrical geometry in Electrical 3D Design.
- From the standard area, click Network Assistant
 , and then select the electrical geometry node.All the branches are also electrically connected.
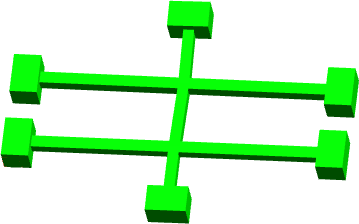
For more information, see Tutorial: Using Network Assistant.