-
From the Verification section of the
action bar, click New Manufacturing Scenario
 .
.
The Manufacturing Scenario dialog box
appears.
-
Under Name, enter a name for the manufacturing scenario,
such as Scenario.1.
-
In the Excitations
tab, under Activity, select the inputs for the scenario,
such as tracks, assembly sequences, or choreography actions. Then, click the
right arrow to move them from the Available to
Referenced section.
Note:
Tracks and choreography actions exist as independent entities and as a
part of the assembly sequence. Once you add the sequence, you do not need to
add them to the scenario individually.
-
Under Simulation State, select the initial state of the
scenario. There can only be one initial state referenced at a time.
-
In the Probes
tab, select the probes to analyze the simulation.
Note:
You can include multiple excitations and probes in a simulation if they do
not impact the same products or resources. Otherwise, the resulting
simulation behavior can be unpredictable. Only excitations and probes
previously defined are available.
-
In the Parameters
tab, enter the time limits for the simulation under Start
Time and End Time, then the simulation
step size under Time Step.
The configuration of the parts or resources involved in the scenario are
calculated at regular intervals (as determined by the Time
Step) between the Start Time and
End Time.
-
Verify that the Generate Animation check box is
selected. This controls the creation of the scenario animation result.
-
Click
Preview.
The
Experience Player appears. You can use it to step
through the scenario.
- Once you have previewed the scenario, close the Experience Player, and click OK.
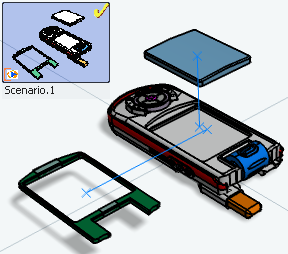
The new
Scenario.1 appears in the
Scenarios

panel.

-
In the Scenarios
 panel, right-click
Scenario.1 and select Simulate and
Generate Results.
The Simulate and Generate Results dialog box
appears. If you have multiple scenarios, you can click Select All
Scenarios to generate scenarios from them all.
-
Click OK.
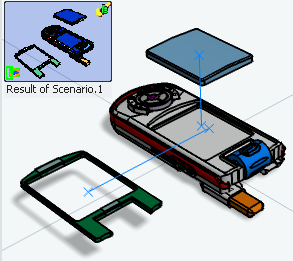
The scenario is simulated. You can also click
Results

panel to see the
results of the scenario.

This creates a scenario. The most recent scenario created or selected is the current
scenario. Thumbnails of the activities, probes, and states that are part of the current scenario have a check mark
in their upper right corners.

