About Moving Control Points | |
| |
- You move a control point by dragging it (or by editing its X, Y and Z coordinates).
- The direction or plane in which you can drag a control point is determined by the constraint selected in Support in the Control Points dialog box ( Normal to Robot, Mesh Lines, Local Normals, Robot plane, Local Tangents, Screen Plane).
- As you drag a control point, all other selected control points will move along the same constraint.
- The distance that any other selected control points move is determined by your selection in the Control Points dialog box in the Diffusion area only ( Constant Law, Linear Law, Concave Law, Convex Law, Bell Law).
Note:
When you move a control point,
Link Laws
and any selection in the
Cross Diff
area have no effect and can be ignored.
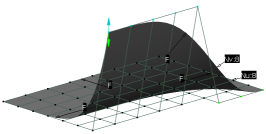
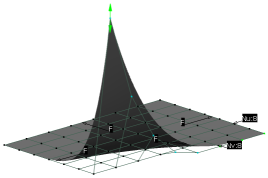
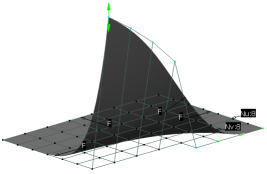
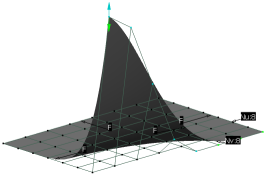
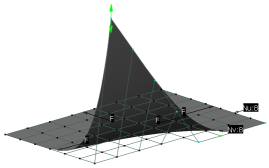
The following examples highlight how the movement of the control point you are dragging is propagated to 4 other selected control points when different diffusion laws are selected in the Diffusion area. The illustration below shows the starting point of each example; the 5 selected control points can be seen highlighted in blue and the corner point is the one which is being dragged.
Note:
After moving the selected control points, you can choose another diffusion law which will be directly applied to the selected control points.

Linear Law
The 5 control points have moved by a linearly decreasing amount and now form a straight line:
Define the Strength of Diffusion Between Laws
After choosing the diffusion law and moving the selected point, a handle appears next to the moved point. You can define the strength of the diffusion and choose directly another diffusion law impact.
The diffusion laws are regrouped in two categories: Concave, Convex, and S curve . The strength handle values vary between 0 and 1. A value of 0.5 corresponds to a linear diffusion.
- Concave and convex: 0 to 0.5 values correspond to a concave diffusion (the closer to 0, the stronger is the diffusion). 0.5 to 1 values correspond to a convex diffusion (the closer to 1, the stronger the diffusion).
- S curve (Bell): 0 to 0.5 values correspond to an S curve diffusion (the closer to 0, the stronger is the diffusion). 0.5 to 1 values correspond to an opposite S curve diffusion (the closer to 1, the stronger the diffusion).
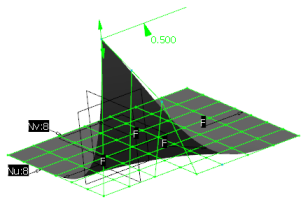
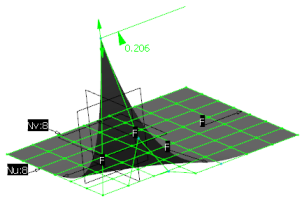
For the following example, the diffusion is set to Linear Law and the strength handle is moved along the displayed ruler:
 |
 |
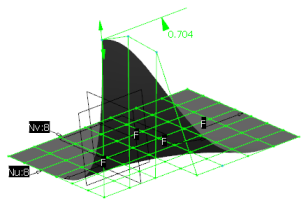 |
| Linear diffusion (Strength set to 0.5) | Concave diffusion (Strength set to 0.2) | Convex diffusion (Strength set to 0.7) |
