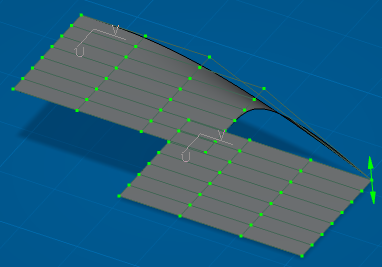
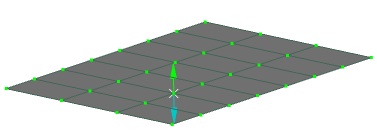
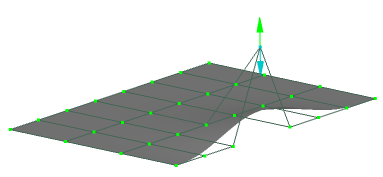
Snap to a Position
You can snap the control points to a precise position when manipulating control points.
-
From the Edition section of the action bar, click Control Points
 .
.
Tip: Double-click a datum element in the work area or in the tree to modify its control points. This also works in a parallel command session (PCS) context. - Select two surfaces.
- In the Support area, select a support.
-
In the
Filters area, click
Points only
 .
.
-
Select snapping and the snap type.
-
In the App Options panel, click Handles Snap (Alt+Ctrl+S)
 .
.
-
Click the Snap On Cpt
 auto-detection type.
-
In the App Options panel, click Handles Snap (Alt+Ctrl+S)
-
Select the control point you want to move.
The control point is highlighted.
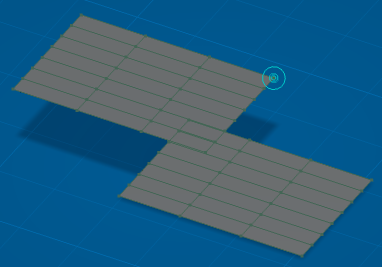
- Move the cursor over the second control point.The second control point is highlighted.
A dashed line connects the two points indicating that the control point will be translated along the support.

- Click the second control point.The first control point is translated along the support and snapped onto the orthogonal projection to the second control point.

-
Repeat the steps above but holding Ctrl while you
move the cursor over the second control point.
The second control point is highlighted.
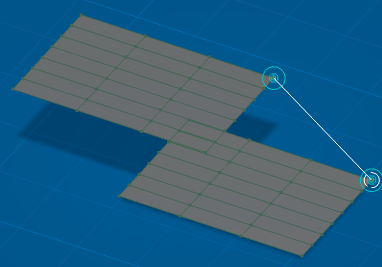
A solid line connects the two points indicating that the control point will ignore the support and will instead be positioned precisely at the location of the second control point.
-
Holding Ctrl, click the second control point.
The first control point is snapped precisely at the location of the second control point.
