-
From the Analysis section of the action bar, click Environment Mapping
Analysis
 .
.
-
To define the image to use for mapping, do one of the following:
- Select one of the predefined images in the Image Definition
list.
- Click
 and select an image using the
Image Chooser dialog box (file types permitted: bmp, jpg, rgb,
tif).
-
Select one or more surfaces of your shape.
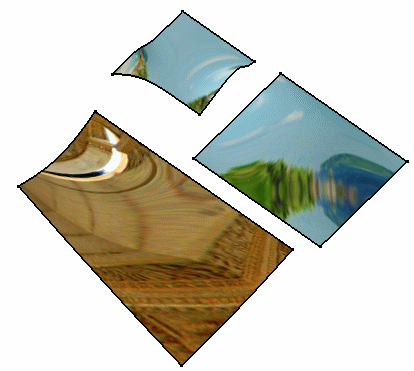
The reflection of the image is projected onto the selected
surfaces.
-
In the Options area, specify the Reflectivity
value to define the transparency of the texture.
The reflection of the image is updated as you move the slider.
-
Select Mapping on part or element by element
 .
.
The reflection of the image is projected onto all surfaces
of the part, whether they are selected or not.
-
Unselect Mapping on part or element by element
 .
.
-
Click OK
The analysis appears in the tree and updates automatically when you modify the input
elements.
The surfaces reflect your mapping definition. It could look like
this:

