Using PowerCopy with an Annotation Set | |||||
|
| ||||
-
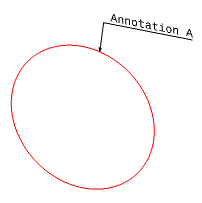
Open the Product A in 3D Tolerancing & Annotation and create an annotation text using the Text with Leader.
The annotation text is added to the Product A and the Annotation Set is identified in the tree.

-
To create powercopy of the annotation set:
-
From the customized section of the action bar, click Power Copy.
This command is not available by default. To add it to the action bar, select Me > Preferences > Customize > Commands, and drag and drop the command onto a section.
The Powercopy Definition dialog box appears. -
In the tree, select an Annotation Set.
Note: You can also select an individual annotation in the annotation set.
The powercopy with annotations or annotation set will have their corresponding geometrical components as inputs.
-
Click OK.
The PowerCopy is identified in the tree under the PowerCopy category underneath Product A.
-
From the customized section of the action bar, click Power Copy.
-
Save the document to the database:
-
Click Share
 > Save > Save with Options.
- Click OK.
-
Click Share
-
Open Product B.

-
In Product B, create an instantiation of the powercopy from Product A:
- From the Compass, click Part Design.
-
From the Tools section of the action bar, click Instantiate From Representation
 .
The Object Selection dialog box appears.
 -
Select the representation of product A, and click OK.
The Insert Object dialog box appears.
-
In the 3D area,
select the element to which you want to attach the annotation input.
Note:
If there are more than one annotation input, the OK in the dialog box remains unavailable until all annotation inputs have been attached.
-
Click OK.
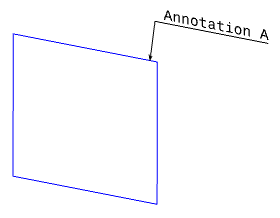
The annotation is added (in this example, Annotation A) and identified in the tree under the Annotation Set category underneath Product B.
