Clipping Annotation Planes | |||||
|
| ||||
-
From the
View section of the
action bar,
click
Cutting Plane
 .
.
The 3D shape is clipped according to the annotation plane in relation to its normal.
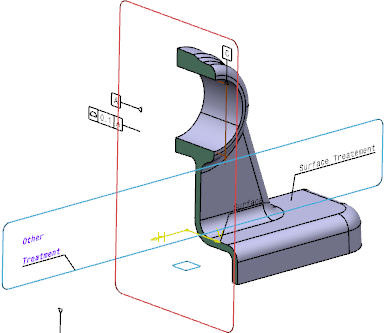
Important: This is the default behavior. The sectioning is displayed according to the preferences set at Sectioning Properties. -
Select the
Material option under
Sectioning Properties, available in
Me
 > Preferences > App Preferences > 3D Modeling > Mechanical Systems
expander.
> Preferences > App Preferences > 3D Modeling > Mechanical Systems
expander.
-
From the
Tools
section of the
action bar,
click
Material Browser
 .
The Material Browser immersive panel appears.
.
The Material Browser immersive panel appears. -
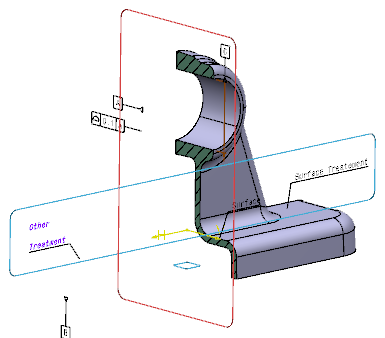
Double-click
the
Front View.x
annotation plane to activate it.
Hatchings are displayed.
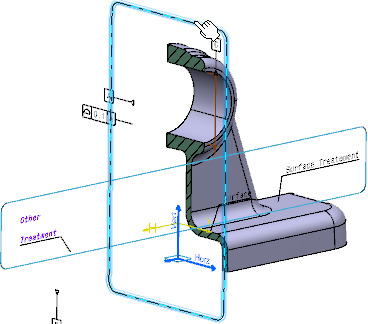
You can clip the 3D shape automatically by selecting the annotation plane. To do so,
- Ensure that:
- No selection is made in the work area.
- The 3DMaster query option is on, see 3D Annotation Query.
- Select the
Front View.x annotation plane.
The 3D shape is clipped.
- Ensure that: