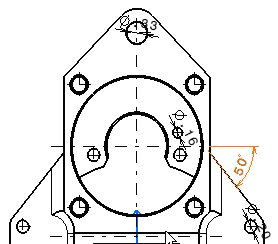
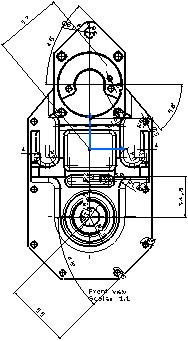
Generating Dimensions Semi-Automatically

You can generate dimensions step by step from the constraints of a 3D part. While generating dimensions you can customize the options such as pausing dimension generation or entering desired time out and so on.


Before you begin: Open a generative drawing representation and a constrained 3D part. Go to Me > Preferences > App Preferences > 3D Modeling > Mechanical Systems > Drafting > Generation tab, and select the Analysis after generation check box.
See Also
Generating and Analyzing Dimensions
  1. Select the views on which you want to generate dimensions. For example, the front view.
  2. From the configured section of the action bar, click Generate Dimensions Step by Step .

    This command is not available by default. To add it to the action bar, select Me > Preferences > Customize > Commands, and drag and drop the command onto a section.

    The Step by Step Generation dialog box is displayed until the end of the dimension generation.

  3. Select Visualization in 3D to see the constraints corresponding to the dimensions to be created on the views.
  4. Select the Timeout option.

    The default timeout is set to two seconds (2s). Enter the timeout value you need, three seconds (3s) for example.

  5. Click Next Dimension Generation to start the dimension generation.
    Important: Note that you can stop the generation at any time by clicking or, on the contrary, accelerate the process by clicking .

    Dimensions appear one after the other on the views.

    Now, you might need to pause the generation to modify the dimension position, for example.

  6. Click Pause in Dimension Generation .
    The generation is paused.
  7. Select the dimension to be modified.

  8. Drag the dimension to its new position.
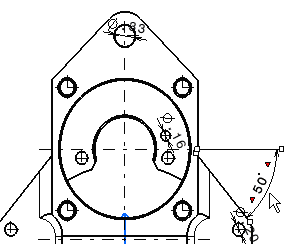
    Important: Note that, at this step (pause), you can perform all kinds of modifications, not only on the current dimension but also to other dimensions, before the dimension generation. You can select not only the current dimension but also other dimensions.
    • If you want the dimension last generated before you clicked the Pause in Dimension Generation switch not to be generated on the view: Click Not Generated in the Step by Step Generation dialog box. The constraint is automatically excluded and the dimension will not be generated.
    • If you want the currently generated dimension to be transferred (using the Transfer icon): Click Transfer in the Step by Step Generation dialog box. Then, select the frame of the view in which the current dimension, or the dimension last created, is to be pasted.
    • If you want to modify the graphical attributes of the current dimension: Apply the desired attributes in the required Properties in the Object Properties panel.
  9. Click Next Dimension Generation again and continue the process.

    The dimensions are automatically generated on all the views.

    The Generated Dimension Analysis dialog box showing the dimensions and constraints generated for each part (in this case, there is only one) automatically appears. For more information, see Analyzing Generated Dimensions.

The dimensions appear as shown, for example, on the front view documented in this particular case.