 - From the Tools section of the action bar, click Design Table
 . . - In the Creation of a Design Table dialog box, replace the default name and comment for
the design table.
- Select the Create a design table with current parameter
values check box.
- Select the Vertical orientation check box.
- Click OK.
In the Select parameters to insert
dialog box, in the Parameters to insert list, you can
notice that there are Activity parameters for a number of annotations
(dimensions and texts, in this specific case).
- For this scenario, we select all of the
Activity parameters for dimensions: the Sheet.1\Front view\DrwDressUp.1\Dimension.#\Activity,
Sheet.1\Top view\DrwDressUp.1\Dimension.#\Activity and Sheet.1\Left
view\DrwDressUp.1\Dimension.#\Activity items. Then, we click the
right arrow to add these items to the Inserted parameters
list.
- Click OK.
The Save As dialog box
appears. - Specify a path and filename for the design table to
be created. Click OK in the file selection dialog box.
The design table feature is added to the tree and a dialog
box displays the newly created design table. This design table contains
only one configuration, on line 1. By default, all dimensions are active
(their Activity parameters are set to "true").
- Click the Edit table... to start the Microsoft
Excel (under Windows) or open the text editor (under Unix).
- In column C, set each item to "false".
- In column D, set each Sheet.1\Front view\DrwDressUp.1\Dimension.#\Activity
item to Sheet.1\Top view\DrwDressUp.1\Dimension.#\Activity
and Sheet.1\Left view\DrwDressUp.1\Dimension.#\Activity
item to "false". This will enable you to deactivate some of the
dimensions while keeping other dimensions active.
- Save your Excel or .txt file and close it.
An information message is displayed to let you know that the design
table was updated; click Close. The design table now contains
3 configurations.
- You can now select another configuration in the Design
table dialog box. Select line 3, for example, and click Apply.
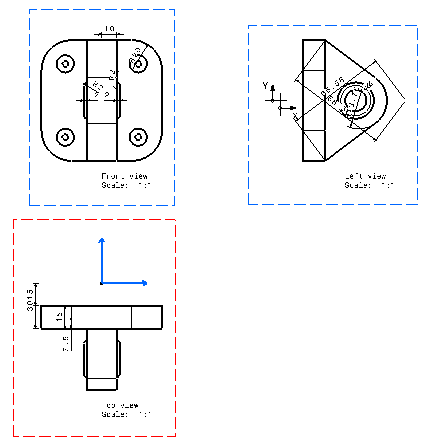
You can notice that the dimensions in the front view are deactivated,
while the dimensions in the other views remain active.
- Click OK to exit the dialog box and add the
design table to the representation.
|

