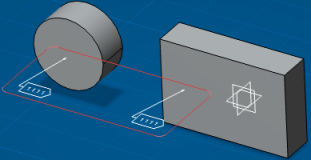
- Create a dedicated Note Object Attribute associated to a 3D face in the 3D Tolerancing & Annotation app.
For more information, see 3D Tolerancing & Annotation User's Guide: Note Object Attributes: Creating Note Object Attribute from a Text.
Notes:
- The Note Object Attribute can be associated to one face, several faces or relimited faces.
- The Note Object Attributes associated to features or wire-frame objects are not processed during the view update to create 2D hatched areas.
- Go to
tab, and clear the Disable generative view style usage check box.
This activates the generative view style functionality. -
Go to . In the standards editor, select the generativeparameters category, and then select the DefaultGenerativeStyle.xml from the File list.
-
Then, for example, go to DefaultGenerativeStyle > FunctionalTolerancingAndAnnotation > NoteObjectAttribute > TechnologicalAreaGeneration > TechnologicalAreaForFTA > NOAExtractedType and specify the type of NOA.
Notes:
- Only dedicated typed Note Object Attribute which is set in the generative view style, associated with the view, is used to generate 2D hatched areas.
- This dedicated Note Object Attribute is taken into account by the extraction process and it can also be instantiated from a catalog.
-
Save this configured generative view style with a suitable name, say G1.
You can use this generative view style for further operations.
- From the View Layout section of the action bar, click Front View
 . .
- In the Generative view style toolbar, select the generative view style G1 defined in step 4.
- In the work area, select a plane of the 3D part or a plane surface, to define the reference plane.
- Click inside the sheet to generate the view.
3D NOA type specification is extracted in this 2D view as a hatched area. 
|
 > Preferences > App Preferences > 3D Modeling > Mechanical Systems
tab, and clear the Disable generative view style usage check box.
This activates the generative view style functionality.
> Preferences > App Preferences > 3D Modeling > Mechanical Systems
tab, and clear the Disable generative view style usage check box.
This activates the generative view style functionality. > Preferences > Standards. In the standards editor, select the generativeparameters category, and then select the DefaultGenerativeStyle.xml from the File list.