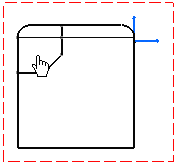
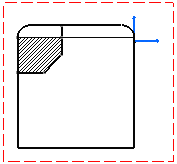
Creating an Area Fill

You can create an area fill on a drawing containing: sketched elements, generative elements, or part-sketched, part-generative elements.


Before you begin: Define your area fill profile by creating lines.

The area fill profile can consist of both sketched and generative elements.

See Also
About Area Fill Creation
Modifying an Area Fill

Context:

Note: It is impossible to create an area fill on generated elements of an approximate view.

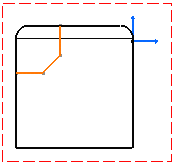
In this example, the sketched elements are selected (highlighted in orange), and the remaining (black) elements are generative elements.


Tip: You do not need to activate the view in which you want to create an area fill.

  1. From the Annotation section of the action bar, click Area Fill .
  2. In the Tools Palette, click Automatic Detection .
  3. In the view, click inside a closed area.

    You can isolate the area fill by selecting Create Datum .


    The area to fill is detected based on where you click, and the area is filled with a hatching pattern.


  4. To change the pattern for the area fill:
    1. Right-click the pattern and select Properties.
    2. In the Properties dialog box, under Pattern tab, select the required type of area fill from the Type list and click OK.
      The pattern type is changed.