Displaying Underground Data in Area Mode | ||||
|
| |||
-
Select the underground data from the tree, then from the standard
section of the
action bar,
click
Properties
 .
.
- In the Representation attributes section, select Underground.
-
From the
Underground section of the
action bar,
click
Visualizer
 .
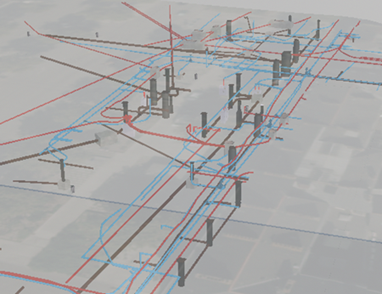
The underground render mode is activated and underground parts of the experience are visible.
-
From the
Underground section of the
action bar,
click
Area
 .
Note: If an element is selected in the scene prior to running the command, the area of interest automatically corresponds to the selection bounding box. If no bounding box is computable for the current selection, then it is ignored and you can draw your area of interest.
 -
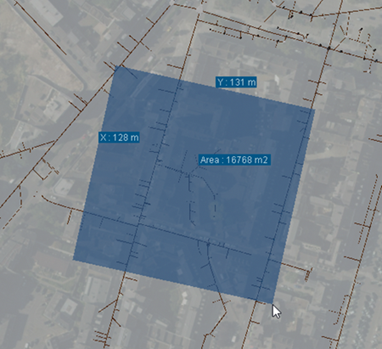
Drag your mouse to draw the area.

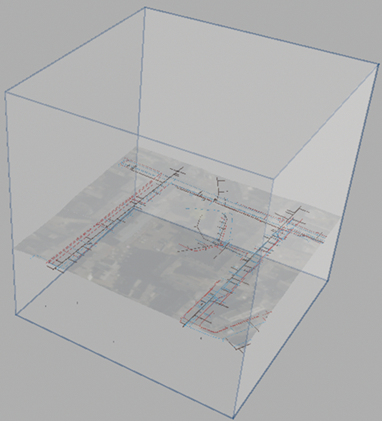
A box is displayed to show only underground data located in the drawn area.

You can navigate around and in the box but you remain on the terrain surface.

-
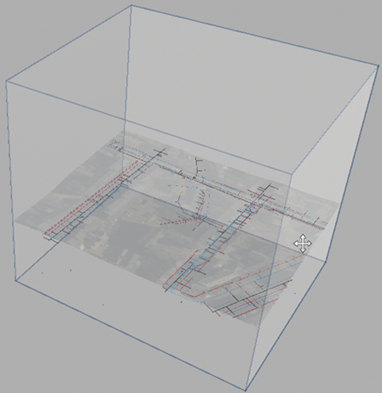
Drag the box planes to resize the box.

-
From the
Underground section of the
action bar,
click
Settings
 to customize the area display.
Option Description Depth Lets you manually define the scene depth using the slider or the spin box. Auto-set depth Automatically computes the scene depth. Automatic depth computation is based on the bounding box of all the elements loaded in the scene when the computation starts. If an element (even outside the underground zone you define) is lower than all the other elements you see, then the automatic depth will be lower too. Likewise, if a low dataset has not been loaded yet, it will not be considered in the automatic depth computation. Show ticks Displays information about the scene depth in meters (m). If the scene depth is modified, ticks are updated accordingly. Distance between ticks Lets you modify the distance between ticks. By default, it is set to 25 m. 
Activate clipping planes Lets you activate clipping planes to change the area width. Note: You cannot change the height.Show planes Displays or hides clipping planes.