-
From the action bar, click Share
Snapshot
 .
.
A snapshot displaying the current content of the 3D viewer is
generated and displayed in the Share Snapshot to
3DSwym dialog box. This snapshot does not show
annotations or UI elements (localisator, tree, and so on).
-
In the Content area, define the appropriate options:
| Option | Description |
|---|
| Media |
Lets you specify the content type for the published image.
To do so, click an item from the list:
- Media
- Post
- Question
- Idea.
|
| Enter title... |
Lets you enter a title for the snapshot to be uploaded on 3DSwym. Note:
This box is
mandatory.
|
| Enter message... |
Lets you enter a description or comments for this publication. |
| Community |
Lets you select the community where the image is to be
accessible.
|
-
In the Settings area, define the appropriate options:
| Option | Description |
|---|
| Format | Lets you select the image format: |
|---|
| Dimensions | Lets you define the image dimensions (in pixels):- 1920 x 1080 px (16:9)
- 1440 x 1080 px (4:3)
- 1080 x 1080 px (1:1).
|
|---|
| Custom | Lets you define your own dimensions. To do so, specify the appropriate values in the Width and Height boxes. |
|---|
-
Click OK.
You are notified when the snapshot has been successfully
uploaded.
-
To access
3DSwym,
use one of the following two methods:
- From the
top bar,
click
 Communities.
- From the
Compass,
click
Social and Collaborative
Apps
,
and then click
3DSwym
 .
.
At the center of the
3DSwym
home page, the latest content published in your communities is displayed.
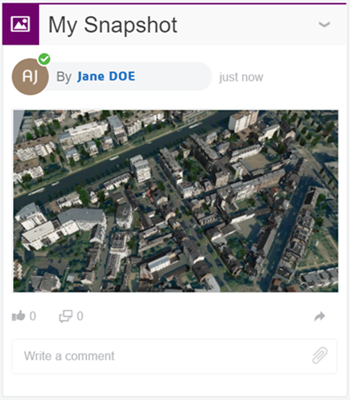
The image is available in the community you selected.

