You can display general information, actions and attributes
related to the selected object.
In addition to this, the Reverse geocoding area at the bottom
of the panel gives more precise information about the location.
Select an object from the tree view or directly from the 3D view.
Tip:
About multi-selection:
Use
Ctrl to select multiple objects (in the
tree and/or in the 3D view). This lets you apply changes to the whole selection
at once.
Only properties common to all objects are displayed and
editable. Therefore, an homogeneous selection (such as different datasets, or
several groups in the tree view) is recommended.
From the standard section of the
action bar,
click
Properties.
Click the arrow next to the desired category to expand it.
The table below provides an exhaustive list of all categories
available but the information displayed varies according to the currently
selected object.
Option
Description
Dataset
Type and name of the selected object.
Tip:
To quickly change the dataset name,
double-click the dataset in the tree to make it editable, then type the new
name and press
Enter.
Move to
selection
Lets you move the camera to the
selected object.
Remove
Deletes the object from the map.
Clone item
Clones the item selected in the 3D view
to create a simple dataset.
The cloned item is placed under the Created Items node
in the tree.
Select parent
dataset
Highlights the parent dataset of the
selected item in the 3D view.
The
Properties panel is refreshed to
display the parent dataset's properties.
Open ENOVIA Properties
Widget
Opens the ENOVIA - Collaborative
Lifecycle widget which displays general information also available in the
PLM properties area.
Clicking
lets you switch to edit mode and change the
title and description of the selected dataset.
Representation
attributes
Attributes, if any, assigned to the
selected object along with their corresponding values (selectable, visible,
exclusive, and so on).
These attributes are data issued from prepared datasets
or datasets in preview (datasources).
Internal
properties
Displays information related to the
datamodel of the City experience. For instance, the number of elements in a
group, or the parent dataset of the selected object.
GIS
attributes
Displays a list of attributes in the
sense of GIS tools:
For prepared datasets, the list of exposed attributes
(untyped) is displayed.
For datasets in preview, the list of common GIS
attributes of all geoitems is displayed.
GIS properties
Displays information related to the type of features (geometries).
For prepared datasets and datasets in preview, the
feature count and the feature count by type is also
displayed.
PLM properties (access rights)
Displays general information (such as responsible, collaborative space,
revision) on the selected object.
This information
depends on the ENOVIA attributes of the dataset
(prepared or in preview).
If the Dissociate access
rights
option has been selected at dataset creation,
information related to the additional datasource
document is displayed. Otherwise, the panel shows
information about the original datasource document.
In the
Representation attributes area, make the
necessary modifications.
Your changes are instantly applied in the 3D and in the
tree view.
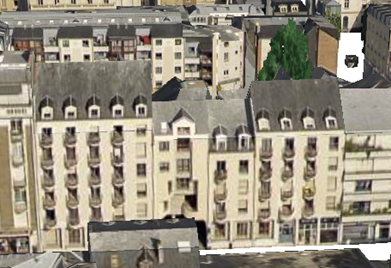
Opacity 1. Default value for the
Opacity attribute.
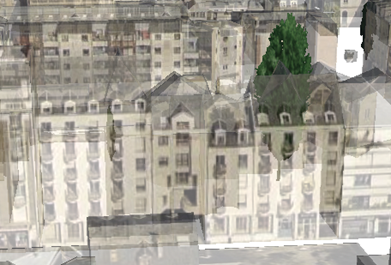
Opacity 2. Modified value for the
Opacity attribute.
 .
.


 lets you switch to edit mode and change the
title and description of the selected dataset.
lets you switch to edit mode and change the
title and description of the selected dataset.