-
From the Tools section of the
action bar, click Capture
Snapshot
 . .
-
In the Save Snapshot to Computer dialog box, define the
appropriate options:
| Option | Description |
|---|
| Format | Lets you select the image format: |
|---|
| Dimensions | Lets you define the image dimensions (in pixels):- 1920 x 1080 px (16:9)
- 1440 x 1080 px (4:3)
- 1080 x 1080 px (1:1).
|
|---|
| Custom | Lets you define your own dimensions. To do so, specify the appropriate values in the Width and Height boxes. |
|---|
-
Click OK.
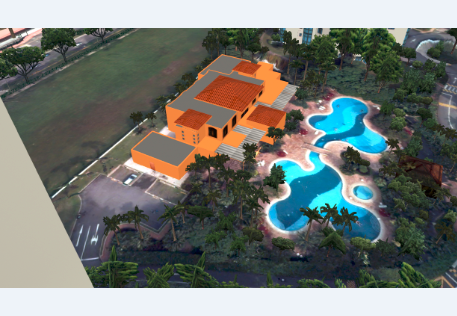
A tab named "XCitySnap_ number" (" number" being
incremented for each new snapshot you take) is displayed at the bottom of the
widget. Note:
Only the 3D canvas is captured. This means that user interface
elements (such as the localisator, the mouse cursor or annotations) are not
displayed on the image.
-
Click the up arrow next to the tab name, and then select the
appropriate option:
- Open to display the picture in a
viewer:

- Show in folder to display the storage
location on your local disk. By default, the image is saved in
C:\Users\user_name\Downloads.
On mobile devices only: Use long press on the image to access the Save Image
and Copy standard context commands. The
Save Image command lets you retrieve the image in
your camera roll used by the Photos app.
-
Share the captured image
through collaborative spaces (such as 3DSwym, 3DSpace, or 3DDrive), through e-mails or any other relevant
method.
|