-
From the Author section of the action bar, click 2D Image
 . .
-
Click either:
- Device to choose a picture stored on your device. Browse
your filte tree, click an image, and then click Open.
- 3DDrive to choose a picture stored in 3DDrive. In 3DDrive, click an image, and then click OK in the Choose
your picture dialog box.
-
Click to position the image.
-
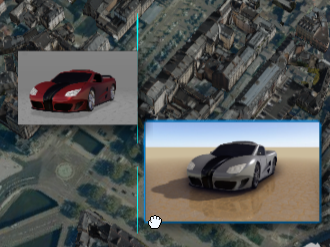
When you move the new image, blue lines are displayed to help you align the image with
areas in the viewport, or with other images.
-
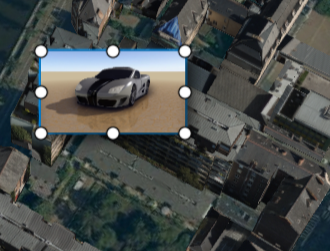
Drag a corner manipulator to resize the image with the current aspect ratio.
-
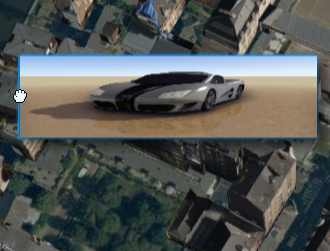
Drag a side manipulator to resize in this direction only.
- Click the box then use the Properties panel to modify properties as needed.
-
Repeat these steps as many times as necessary to create additional 2D images.
- To remove an image, select it then press Delete.
|
 .
.


