Installing GlobeCV Plugin | ||
| ||
-
Untar or unzip the media to create the
GEOVIA_Globe_GlobeCVPlugin.Linux64directory on Linux. - Change to the distribution directory; that is, GEOVIA_GlobeCVPlugin.Linux64/1 on Linux.
- Specify how to start the installation on Linux:
Option Mode Description GUI mode Enter ./StartGUI.sh TUI mode Enter ./StartTUI.sh The procedure starts, and a dialog box displays a welcome message.
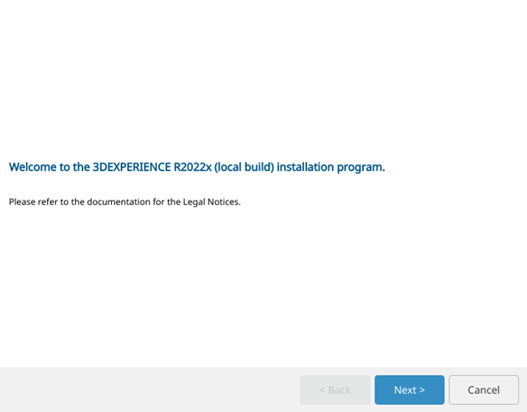
- Click Next.
-
Specify the Exalead CloudView installation directory.
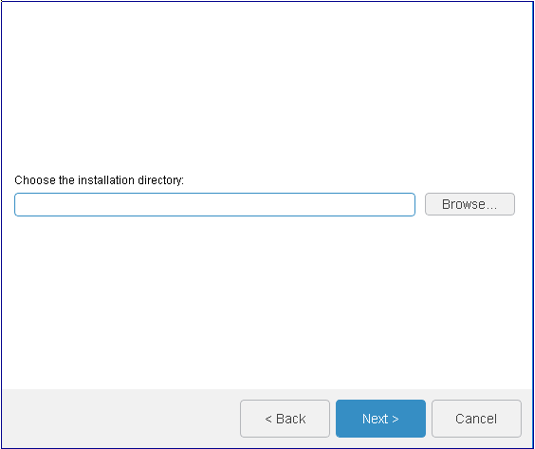
For example,
/usr/DassaultSystemes/R2022x/GlobeC-vPlugin/installon Linux. -
Specify whether you want to use the embedded Java Development Kit (JDK) or another
path.
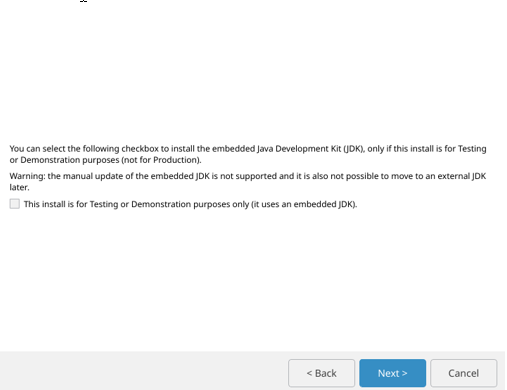
-
Specify the Exalead CloudView base port, the CloudView license path, the CloudView admin password and
the CloudView data directory.
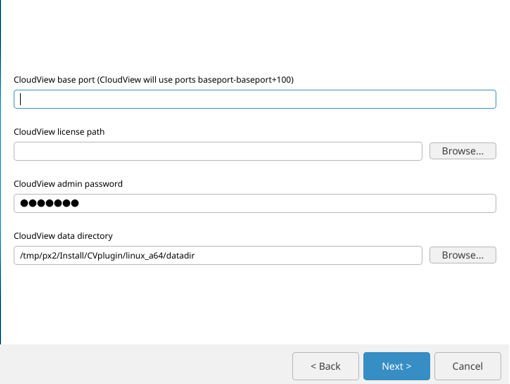
Warning: If the port is already used, then the install fails. -
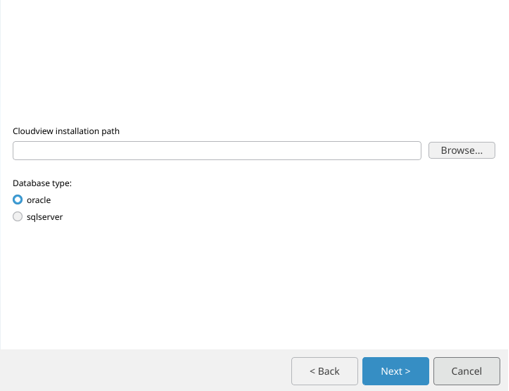
Enter the path to the Exalead CloudView instance you have previously installed, and from the Database
Type options, select oracle or
sqlserver.
-
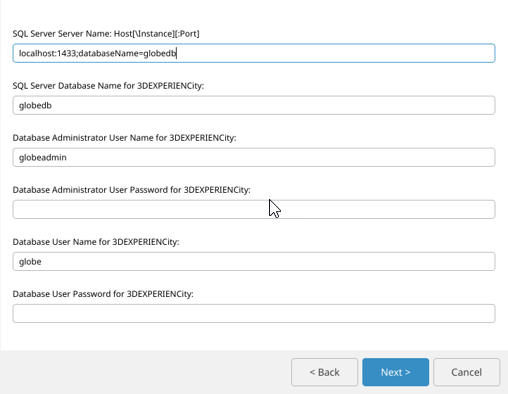
Register the database information; that is, on the SQLServer: server name/host,
database name, the administrator user name, the administrator user password, the
user name for 3DEXPERIENCECity and password. For example:
-
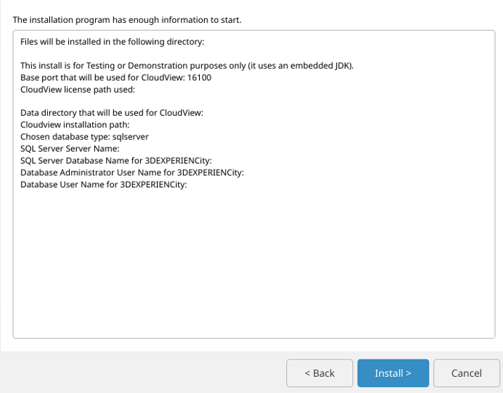
Review your installation choices, then click Install.
-
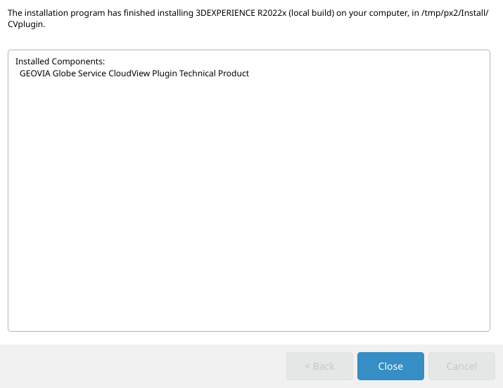
Click Close when the installation is complete.
